Git Sidebar
|
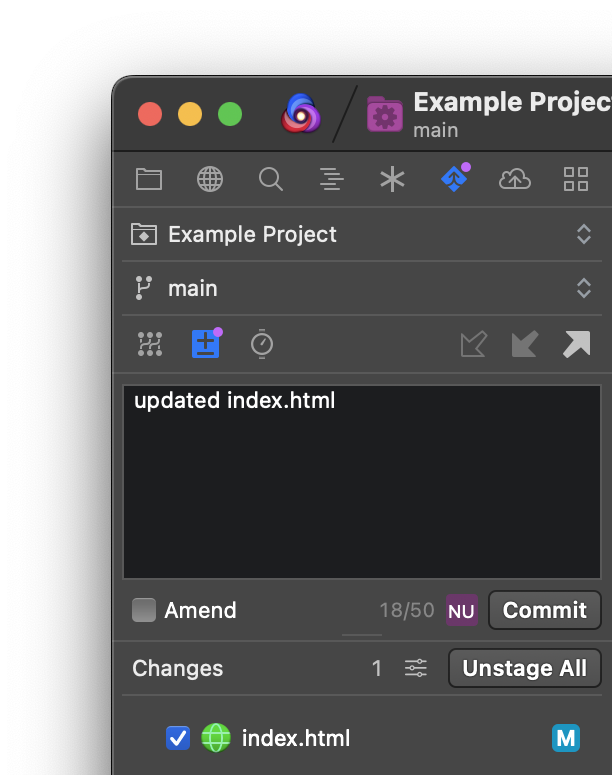
When working in a project with a Git repository, the Select the |
|
NOTE: The Git Sidebar is not available in Remote Projects.
Overview
When opening the Git Sidebar, you will be prompted to initialize a Git repository in your project’s root folder if one does not already exist. If a repository already exists in your project root, Nova should automatically find it and display it for you.
NOTE: Repositories in directories besides the project root, such as in parent directories or subdirectories, are not currently supported.
Along the top of the Git Sidebar, you’ll find two dropdown menus.
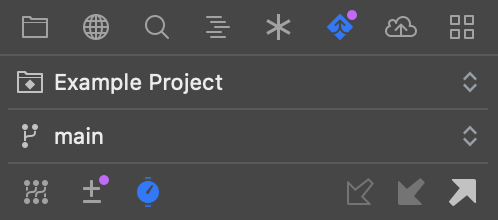
The first menu allows you to switch between references, including the main repository and any submodules (git-scm.com) of that repository. The second allows you to switch between branches of the chosen reference. You can also choose to create a new branch forked from the current branch, or choose to checkout a particular revision of a branch.
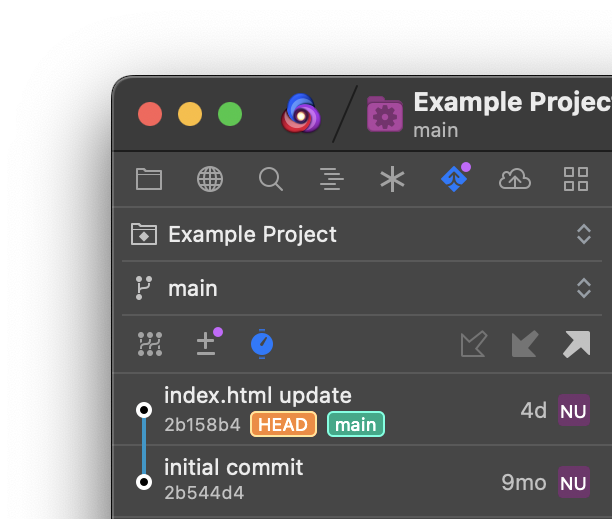
Below these two menus are controls for switching between Repository View,
Changes View, and
History View, each of which are explored in more detail later in this article.
If the repository has any remotes configured, the three arrows on the right can be used to fetch, pull, and push commits from and to a remote repository. If no remotes are available, only the Push command will be enabled, and you will be prompted to configure a remote repository when selecting it.
Fetch
- Retrieve a list of new changes and commits found on the remote repository, without affecting your local copy.
Pull
- Download any remote changes/commits and merge them into your local repository.
Push
- Upload any new local commits to the remote repository.
Repository View
|
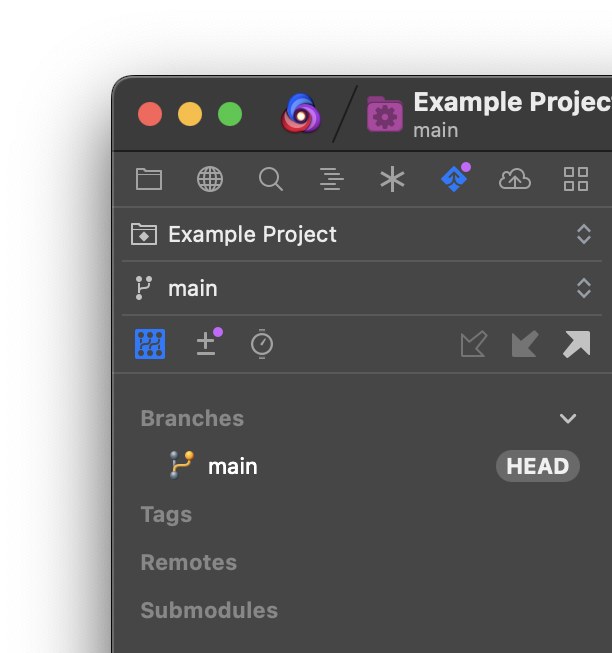
The first view mode in the Git Sidebar is the The branch or tag currently serving as the repository’s head will be indicated with a HEAD marker in the list. Double-click any item in the list to checkout that particular reference. If you checkout a remote branch, you will be prompted to create a corresponding local branch. |
|
Right-click or ⌘Command+Click any item in the menu to access the context menu for additional options, including renaming or deleting references, merging branches, and creating new branches or tags from existing references.
Changes View
|
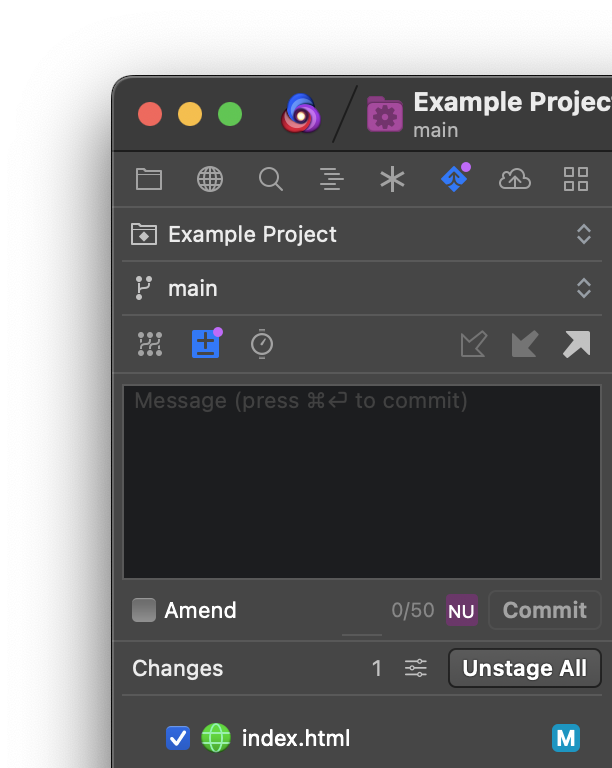
Check an individual file or folder to stage it for committing, or click Stage All to check all changed files at once. Double-click a file to open it in Comparison View and see what has changed since the last commit. |
|
To the left of the Stage All button, you’ll see a count of how many files have changes that can be staged. Clicking the icon will open a menu with some additional options:
- Reload Status
- Refresh the list of changed files.
- View as Tree/View as List
- Show changed files in a hierarchial tree with their parent folders, or as a flat list.
- Expand All/Collapse All
- When in Tree View, these options expand or collapse all folders in the changes list.
- Show Ignored Files
- Toggle whether to display ignored files that have been changed.
At the top of the Changes View is a text field for entering your commit message, which will accompany the commit. After entering a commit message, click Commit or press ⌘Enter to commit your changes.
- Amend
- If checked, the staged changes will be combined with the last commit to the repository as an ‘update’ to that commit, rather than as a separate commit.
Need to sign your Git commits? Nova supports commit signing, too! Just make sure
commit.gpgsignistrueanduser.signingkeyis set in your Git configuration.
History View
|
In Double-click a commit to open a popover with additional details, allowing you to see the full commit message, timestamp, and author name for the chosen commit. You can also choose to copy the commit’s SHA hash, checkout the commit, or create a new branch or tag from the commit from this popover. |
|

NOTE: Options for copying the SHA hash, checking out a commit, and creating new branches or tags can also be found in the context menu when right-clicking a commit in the history.
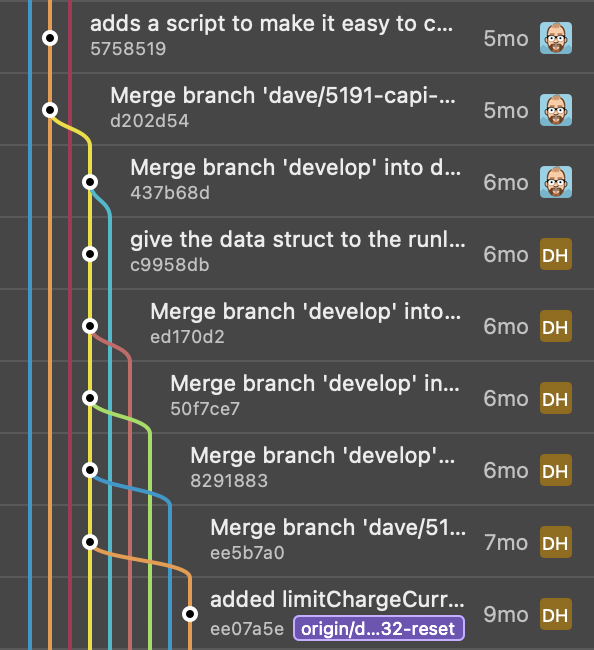
On the left edge of the view, you will see a network graph illustrating when the repository was forked into separate branches, and when those branches were merged back into the current branch.
|
← Previous Cloning a Repository |