Tools
Nova includes the nova command-line tool for opening files and projects from your shell, which can be installed or uninstalled from the Tools settings. You can also configure third-party tools such as language servers, which Nova can install and manage for you.
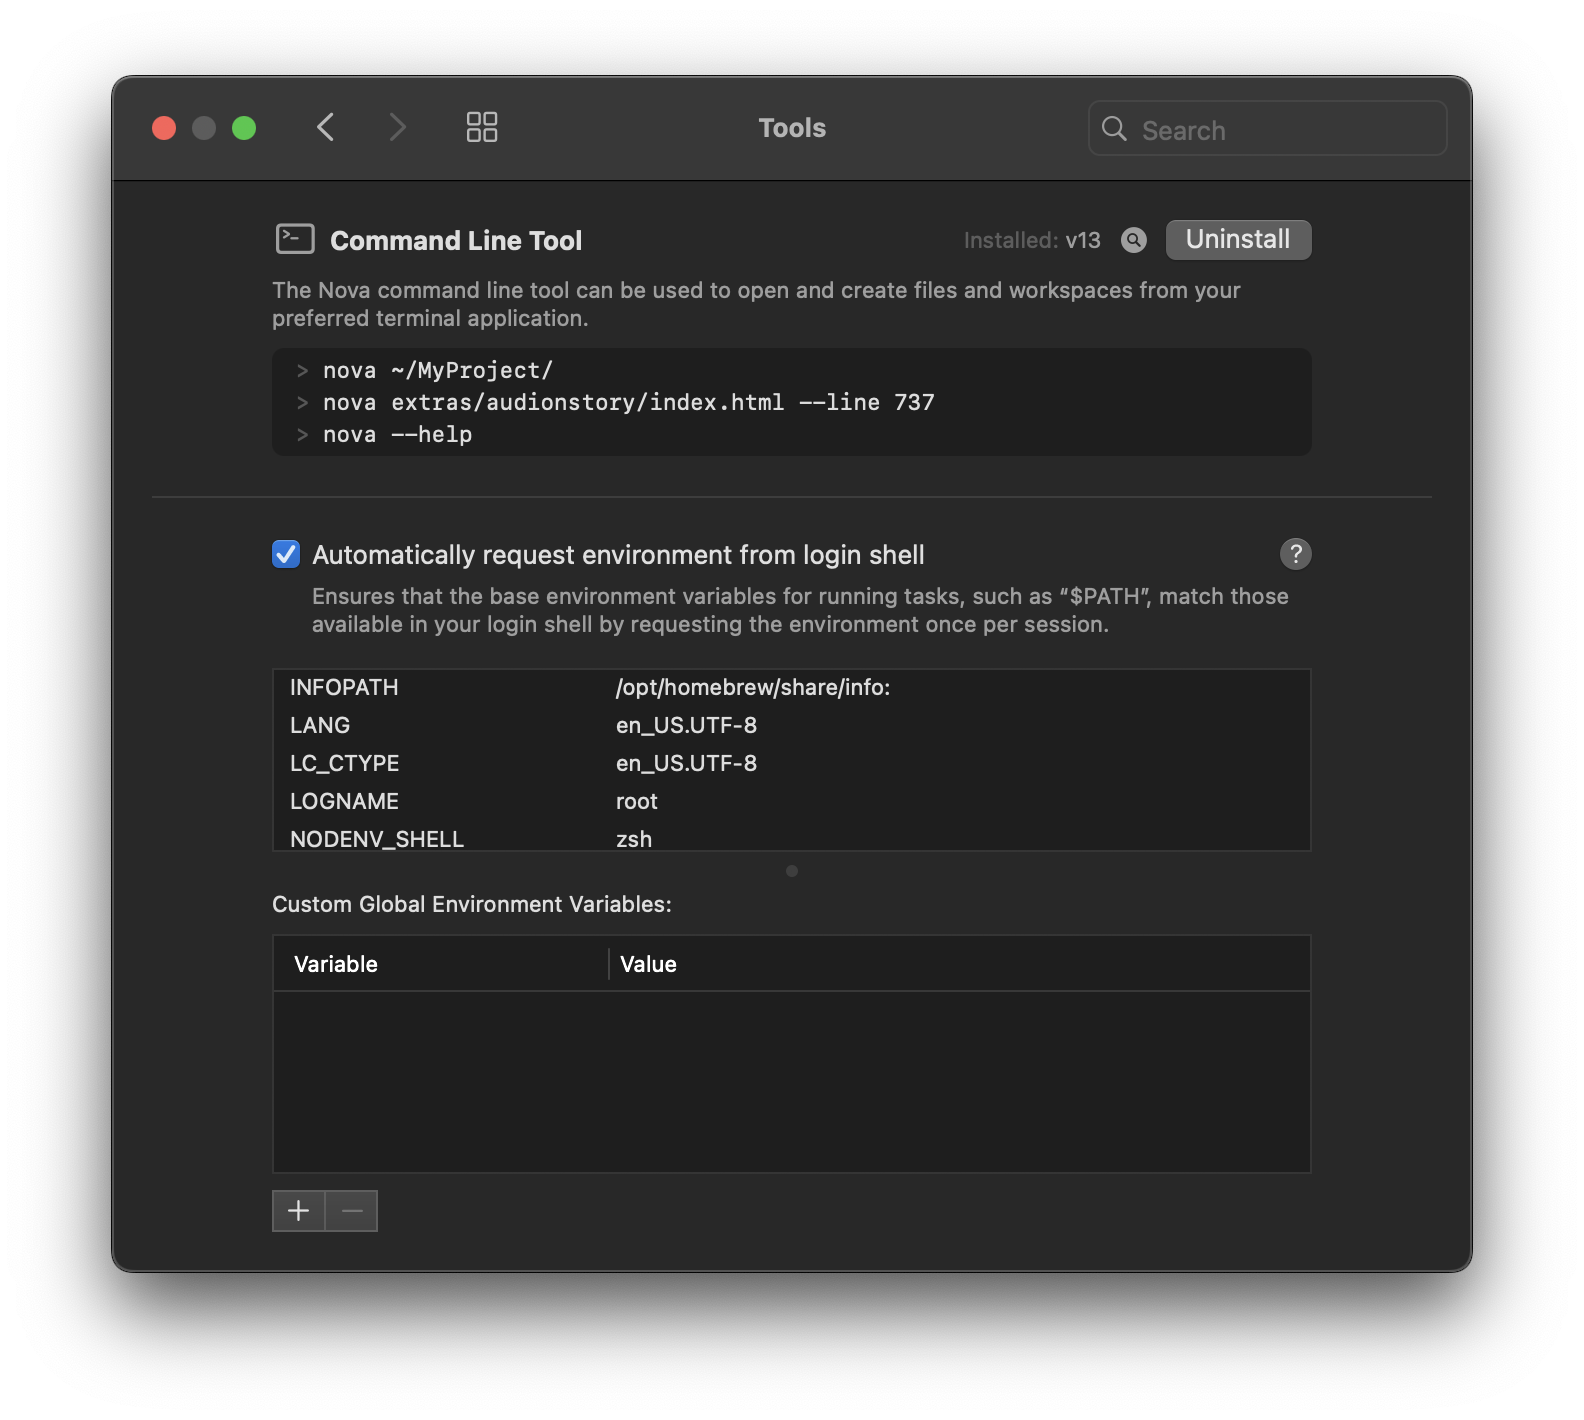
Command Line Tool
Here, you can click Install to install the nova CLI utility to /usr/local/bin/nova. This is a command-line tool you can use to open files or folders in Nova from your terminal, or from a shell script. If the nova CLI tool is already installed, you will instead see an Uninstall button to remove it. The Location field shows you where the tool has been installed.
The nova file added to /usr/local/bin is actually a symlink to the real location of the executable within Nova’s app bundle. Consequently, if Nova.app has been moved since installing the tool, it may need to be reinstalled.
NOTE: Make sure Nova.app is installed in its intended location, such as your /Applications folder, before installing the CLI tool.
Read More:
Tools & Registries
Nova supports installing and managing external tools, such as language servers. Here, you can uninstall these tools, manage how they are updated, and control what registries Nova uses to discover and download tools.
Managed Tools
From the Installed Tools button, you can see a list of external tools that are currently installed and managed by Nova, including the version of the tool.
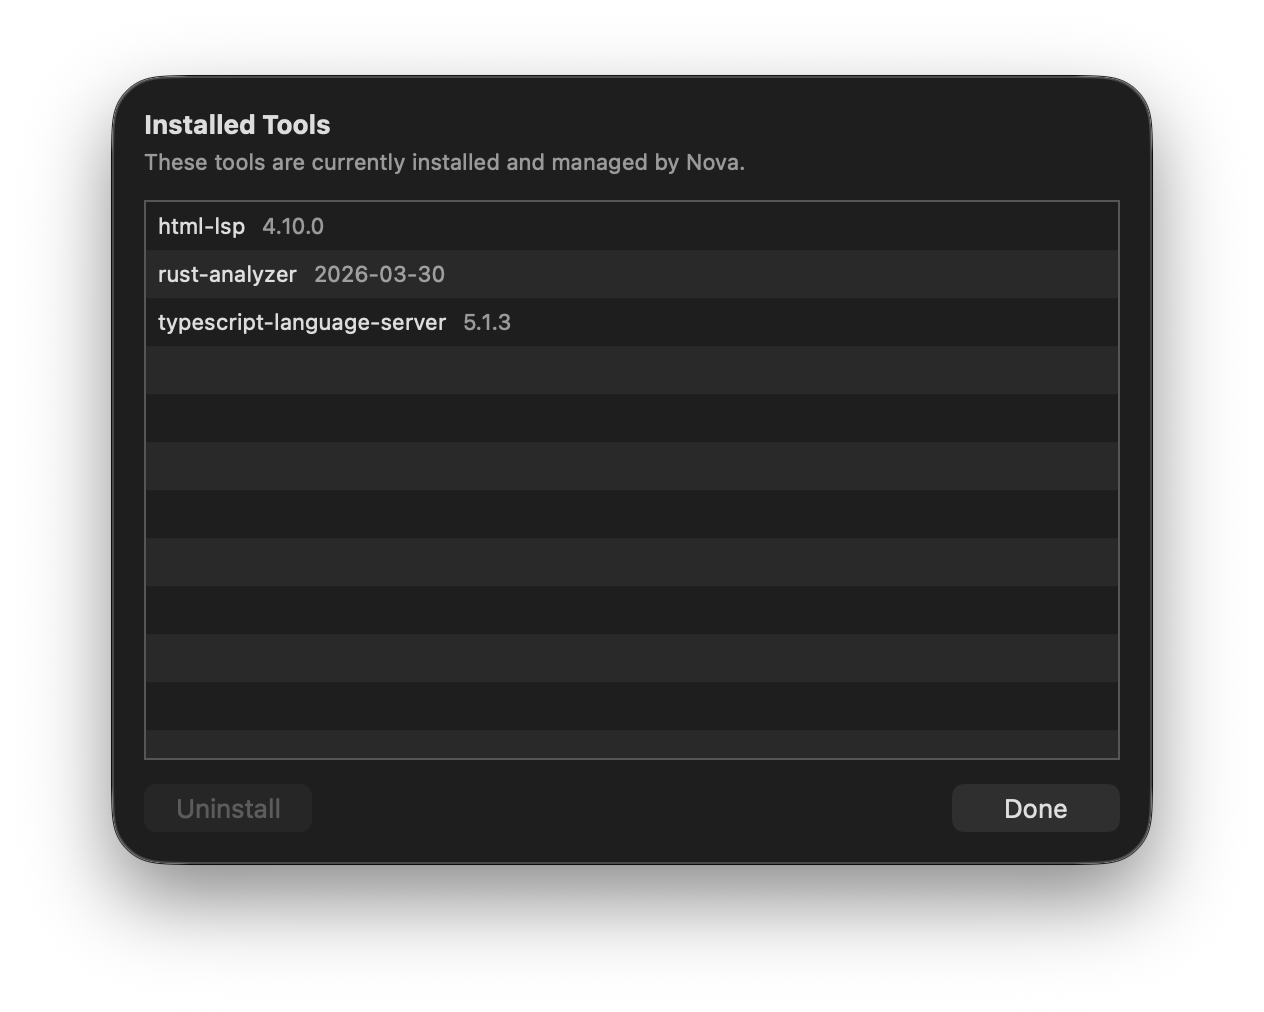
To uninstall a tool, select it and click Uninstall in the bottom left.
- Install updates automatically
- When enabled, Nova will automatically install updates to any managed tools. Nova checks for tool updates each time it refreshes registries, which you can control below.
-
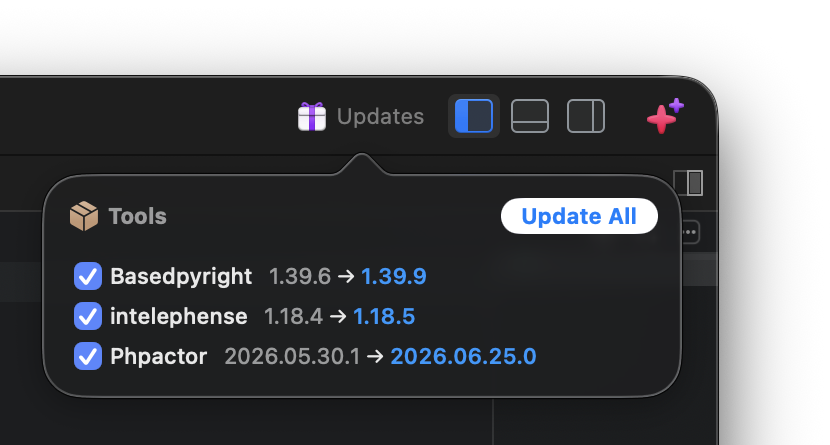
If automatic updates are not enabled, you will be prompted to install tool updates in Nova’s toolbar.
Registries
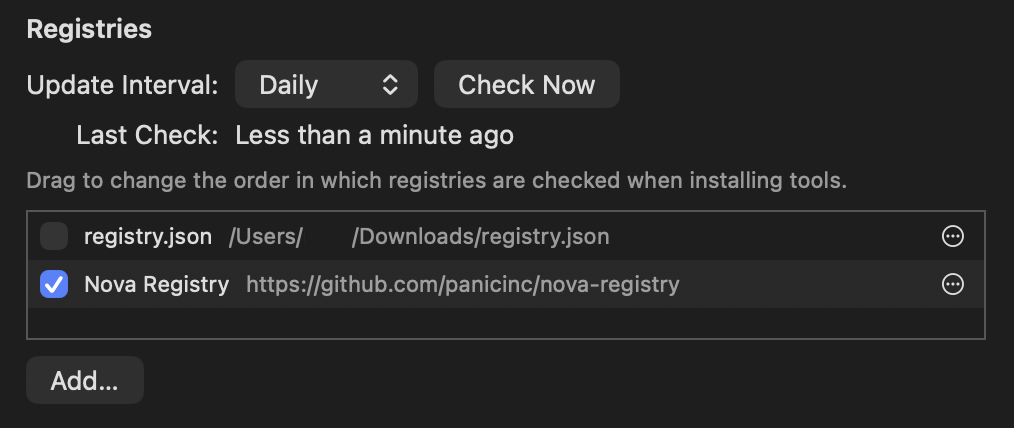
Registries are JSON-based repositories that Nova uses to discover and install third-party tools. These provide Nova with a variety of metadata about available tools, such as their names, versions, and how to install them. By default, Nova checks the official Nova Registry (github.com). You can also add custom registries, either hosted online or from an arbitrary file.
- Update Interval
- Control how often Nova checks for updates to tool registries. You can choose to check hourly, daily, weekly, or never. You can also manually check for updates using the Check Now button.
Registry Priority
The Tools Settings pane displays a list of all registries currently configured in Nova. You can enable or disable the use of a registry by toggling the checkbox next to each listing.
In addition, you can also change the priority of particular registries. For instance, two registries may offer slightly different versions of the same tool. In these cases, the top-most registry takes priority over those lower in this list. You can click and drag registries to reorder their priority.
Adding and Managing Registries
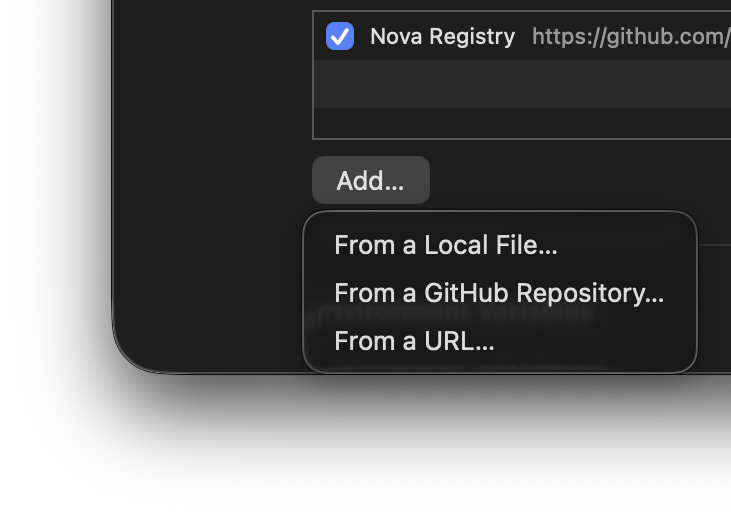
You can add additional registries to Nova from the Add… button. There are three options for adding a registry:
|
|
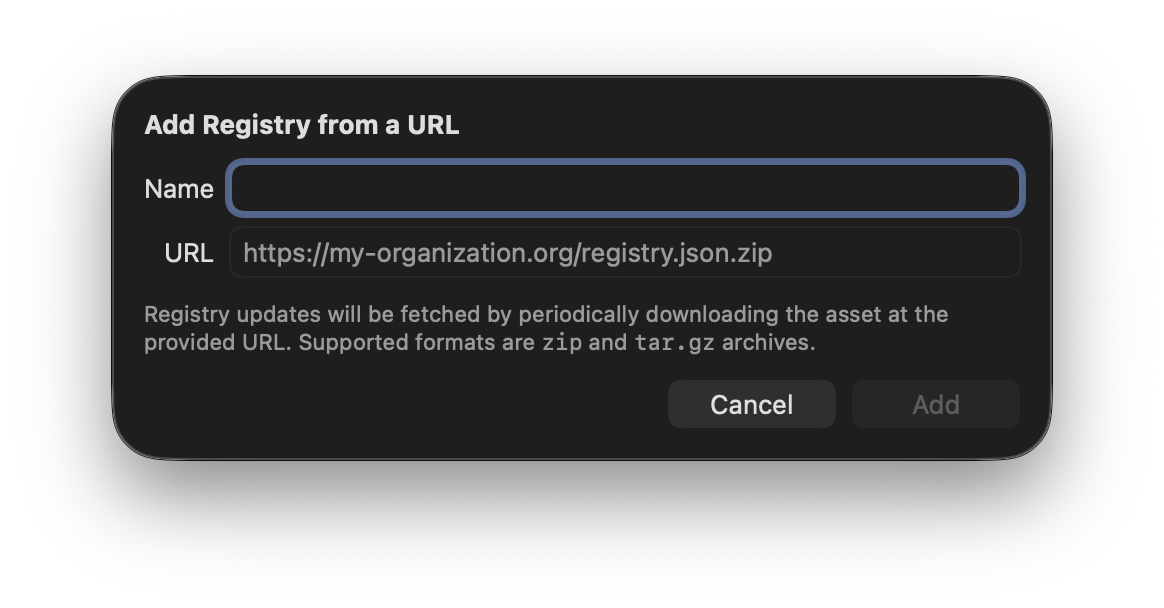
When adding a registry from a GitHub repository or a URL, you can set a display name for the registry to help you identify it in the list of registries.
After adding a registry to Nova, it will appear in the list of registries in the Tools Settings. From there, you can click the  button to the right of a registry to view additional options:
- Open URL/Show in Finder
- Display the source of the registry, whether it’s hosted online or on your Mac.
- Remove
- Remove the registry from Nova.
NOTE: The default Nova Registry cannot be removed.
Environment Variables
Here, you can see manage environment variables Nova uses for the shell environment Task scripts run within.
NOTE: Task scripts run in a non-interactive login shell.
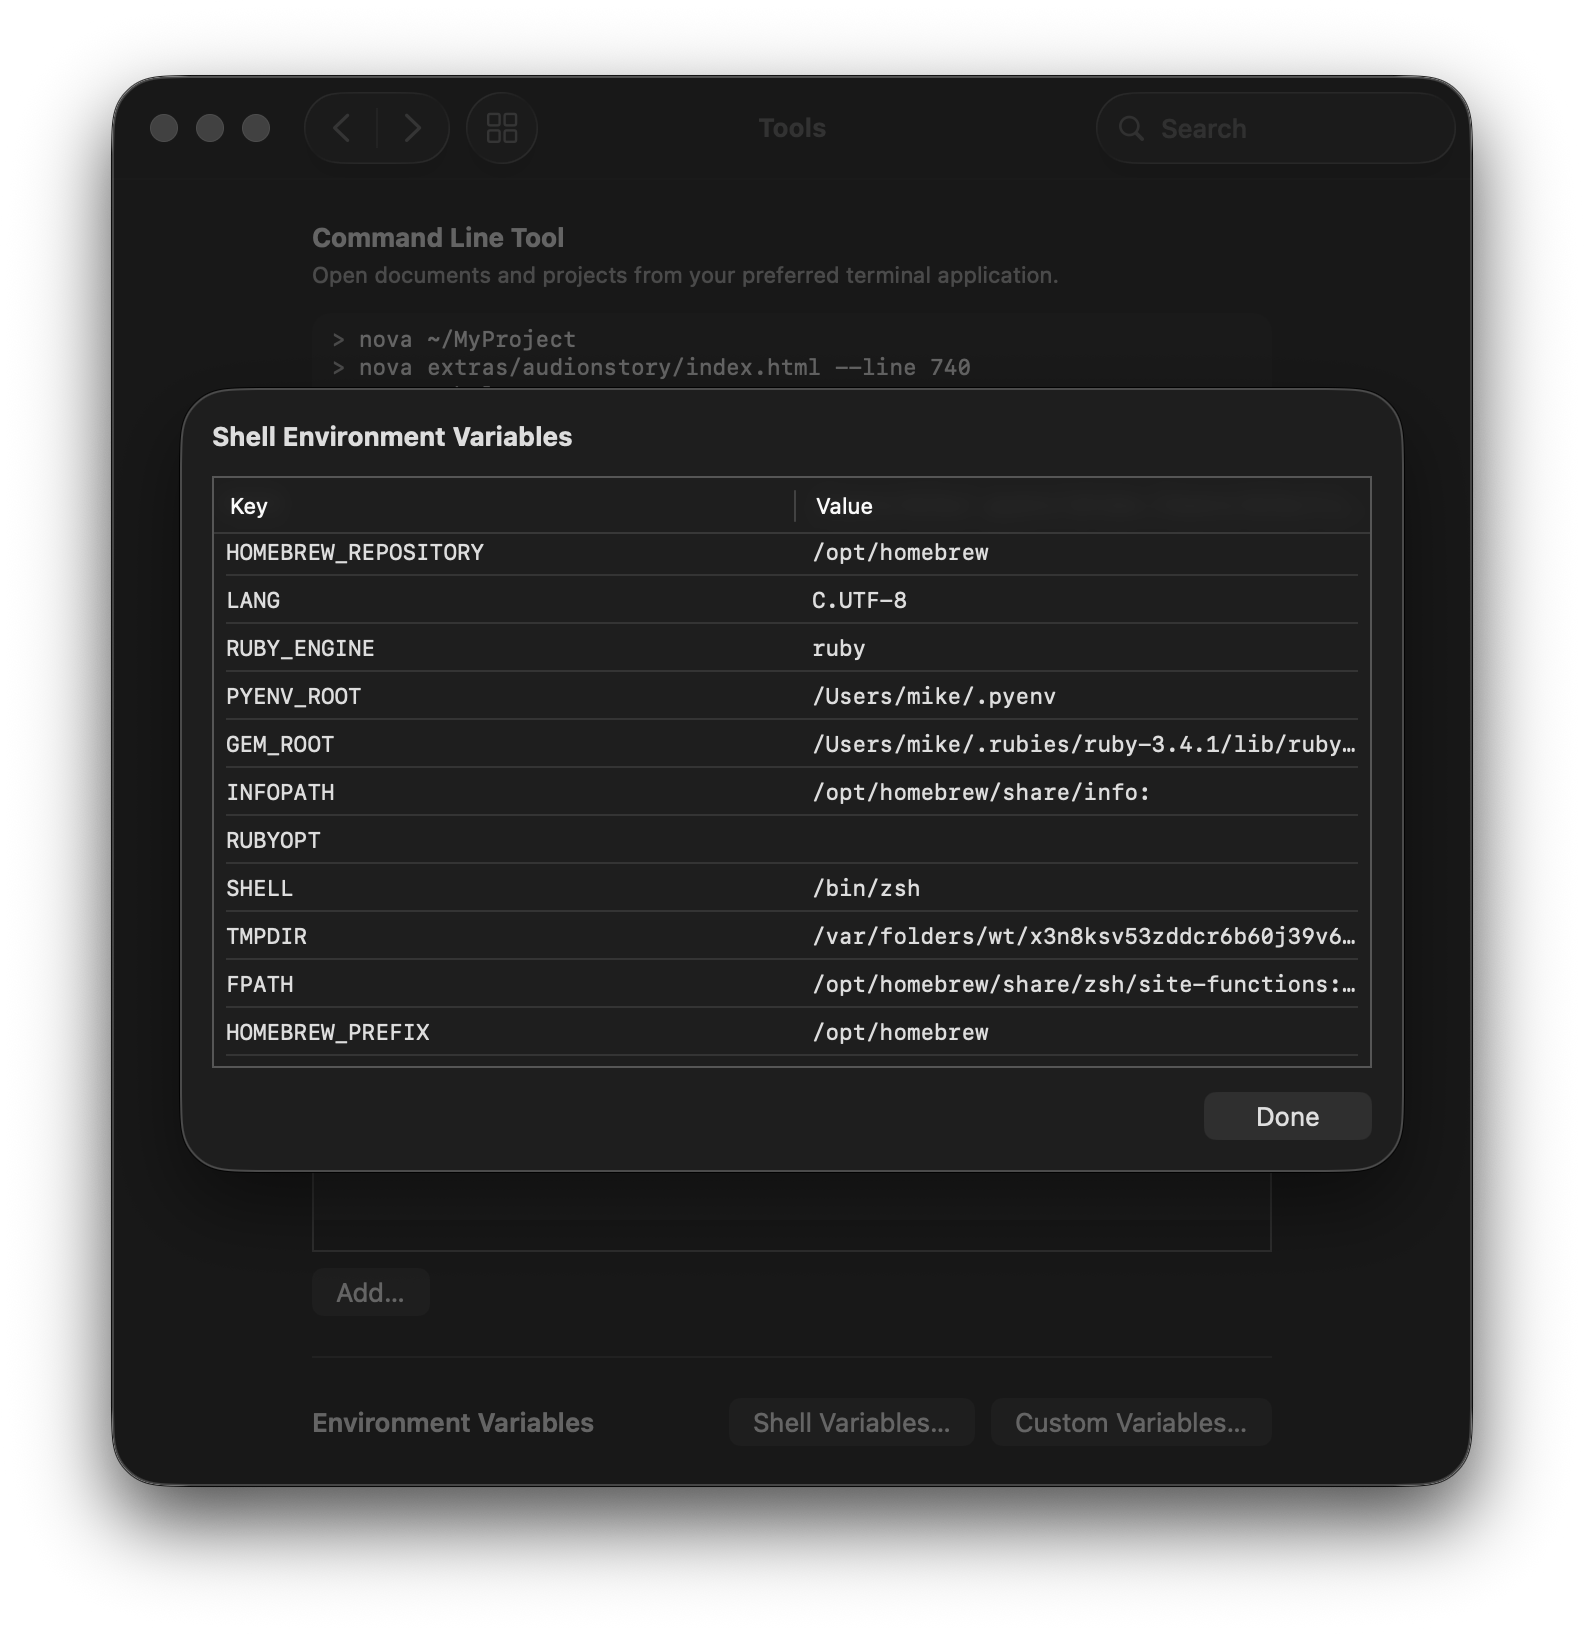
Shell Variables
This view displays your current shell environment variables.
Custom Variables
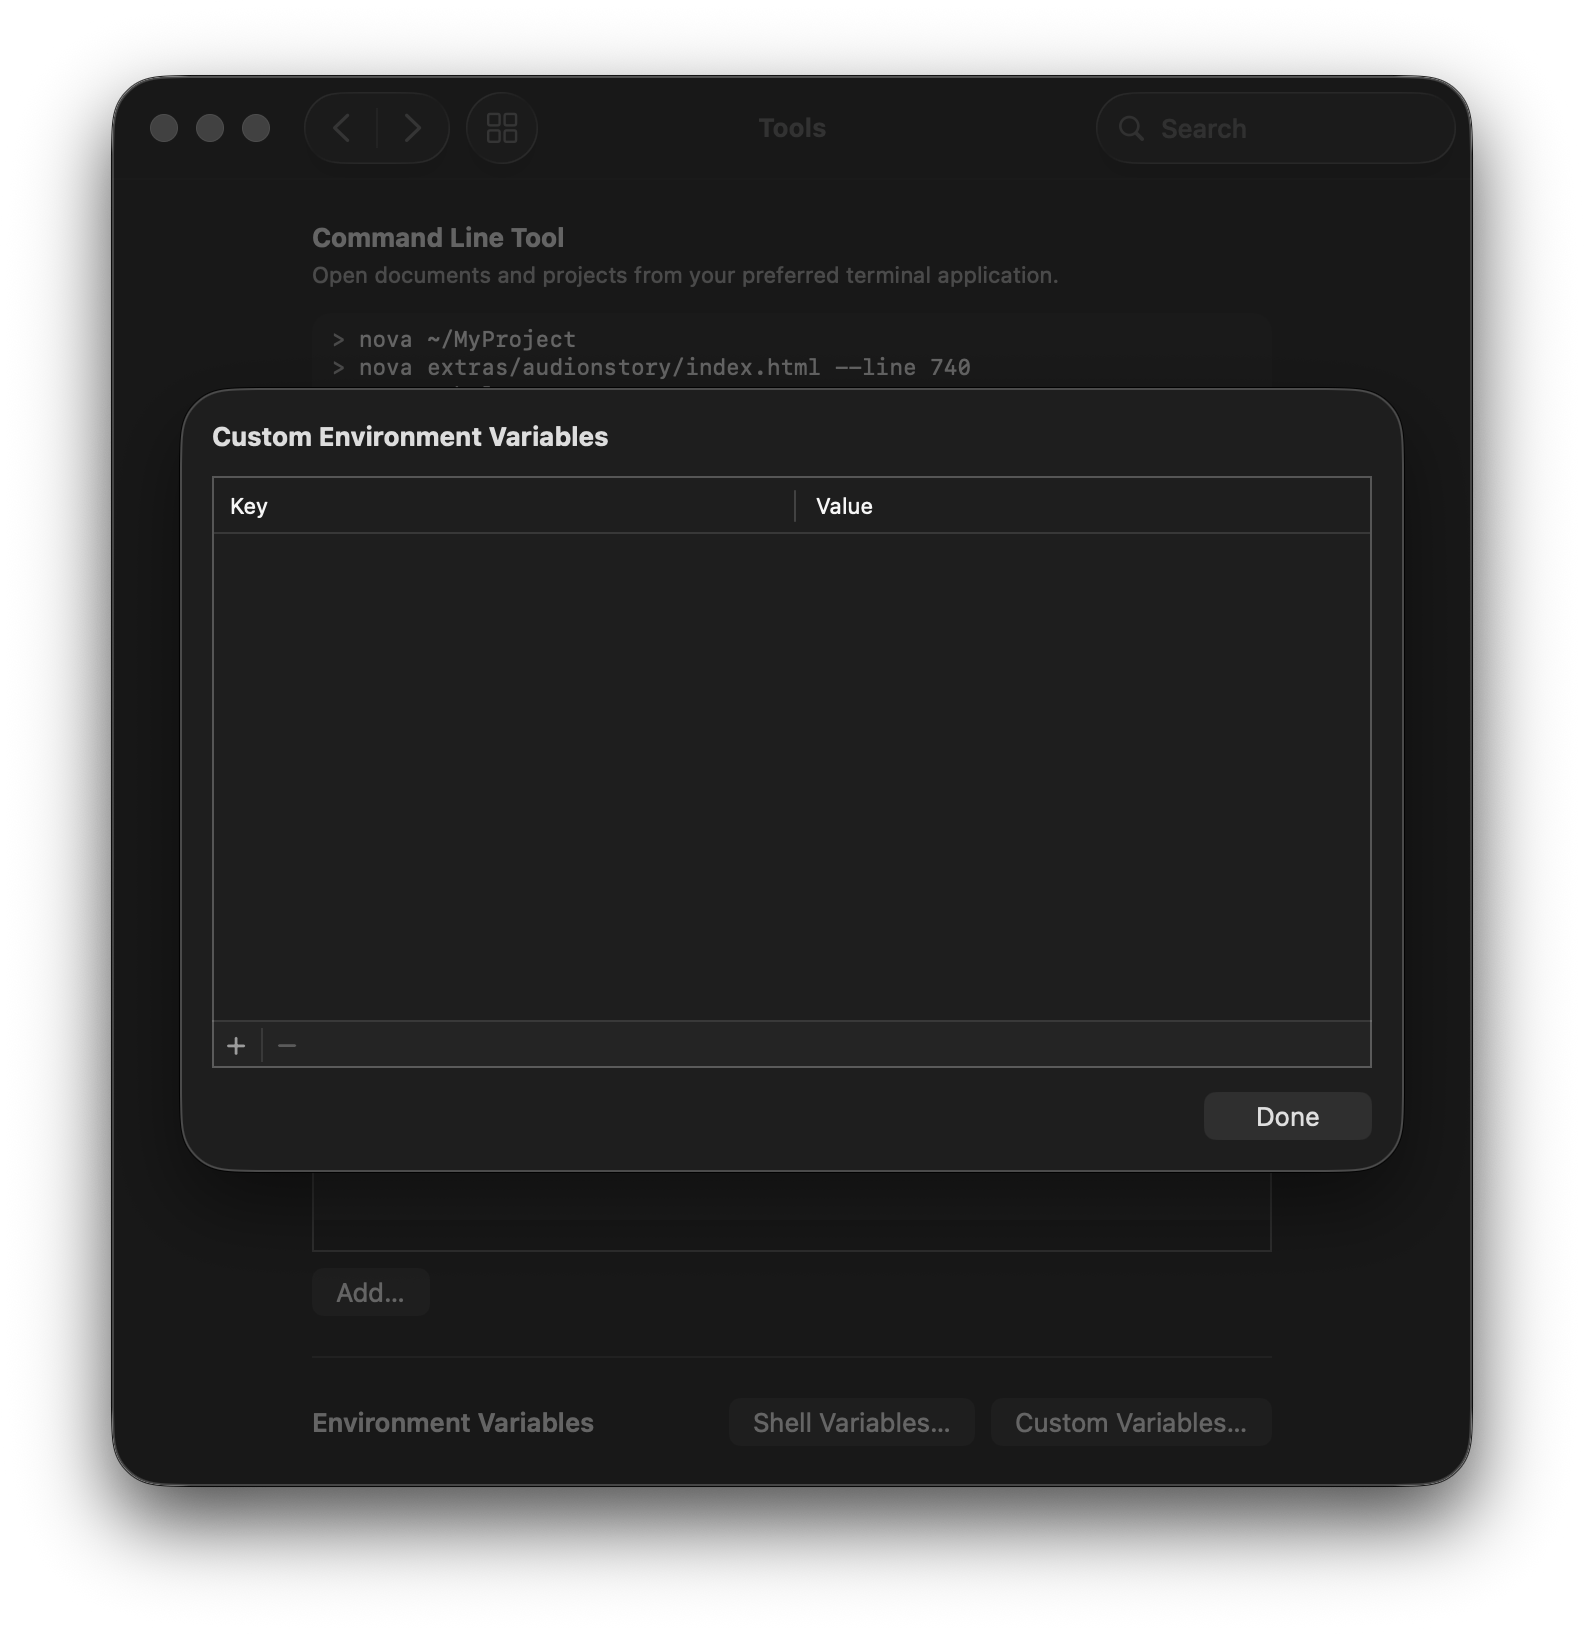
You can also set custom environment variables specifically for use in Nova. Simply click the + button below the Custom Environment Variables field to add an entry to the list, then set both the variable you wish to assign and the value you wish to set it to.
NOTE: If you set a custom value for a variable that’s already defined in your shell environment, your custom variable will override it.
|
← Previous Key Bindings |
Next → Workspace |