The Launcher
Once you’ve finished setting up Nova, you’ll be greeted with the Launcher.
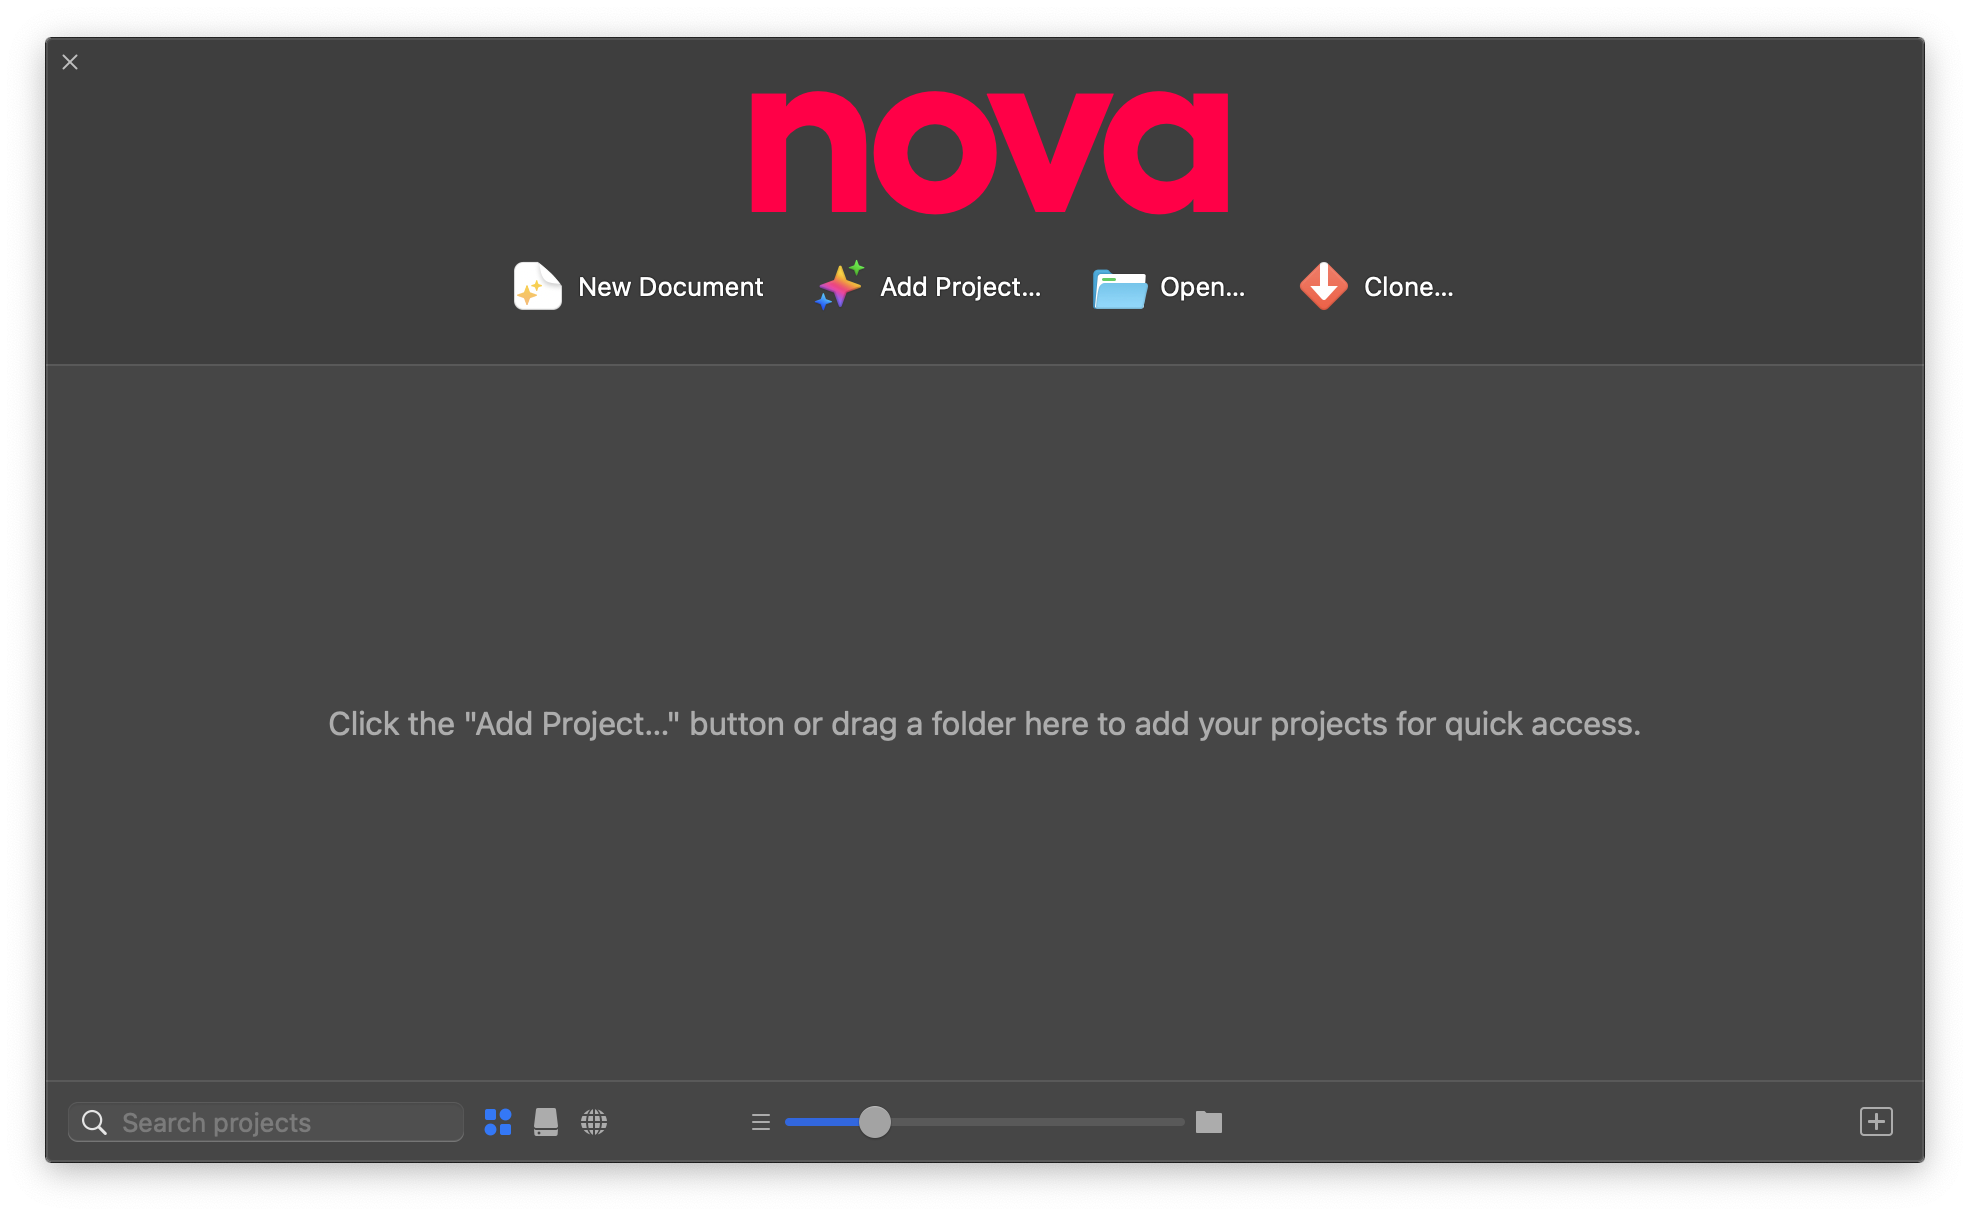
Out of the box, you’ll likely find the Launcher rather empty, unless you’ve imported your Sites from Coda 2. As you add Projects to Nova, the Launcher will serve as a quick starting place to open existing Projects, or to add new ones.
- New Document
- You can also select this option to create a new, empty document that is not tied to any project.
- Open
- Open an existing file or folder.
Note: Opening a folder this way may also add the folder as a project if Settings > General > “When opening a folder, add it to projects automatically” is enabled.
Types of Projects
There are two types of projects in Nova:
Local Projects
![]() The main type of project we recommend for most scenarios is a Local Project. Local Projects are based out of a local folder on your Mac. Local Projects are ideal for most workflows, as having your project files stored locally on disk gives you access to Nova’s complete feature set. If you need to work with files on a remote server, or push your changes up to the server, you can optionally add a Remote Files destination to your Project and use Publishing to queue changed files.
The main type of project we recommend for most scenarios is a Local Project. Local Projects are based out of a local folder on your Mac. Local Projects are ideal for most workflows, as having your project files stored locally on disk gives you access to Nova’s complete feature set. If you need to work with files on a remote server, or push your changes up to the server, you can optionally add a Remote Files destination to your Project and use Publishing to queue changed files.
You can also use Git source control with Local Projects, with support for both local and remote repositories.
Remote Projects
![]() For situations where you need to work primarily or exclusively with files on a remote server, Remote Projects provide a quick and convenient way to open Nova directly to a given server and directory. However, since Nova will not have direct filesystem access to the project, some functionality will be unavailable. This includes:
For situations where you need to work primarily or exclusively with files on a remote server, Remote Projects provide a quick and convenient way to open Nova directly to a given server and directory. However, since Nova will not have direct filesystem access to the project, some functionality will be unavailable. This includes:
- Git source control
- Indexing and Open Quickly
- Tasks and Debugging
- Transient tabs
- Nova’s built-in Preview server
- Extension functionality that relies on the above features or local filesystem access
Adding Projects to the Launcher
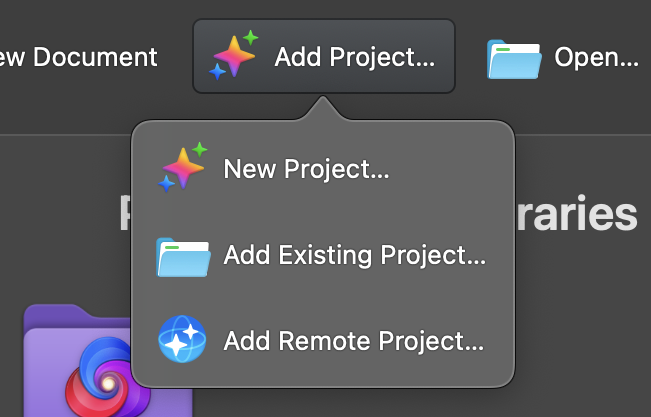
Clicking the Add Project button will present you a menu with the following options:
|
|
Please note that, since a Local Project is tied to the folder it is based out of, you cannot change the root folder of a project once it is created. If you move an existing project folder elsewhere on your Mac and try to open the project in Nova, Nova should alert you that the project couldn’t be found and allow you to point it to the new location. If you need to change the root folder of a project altogether, you would need to simply add the desired folder as a project from Add Project > Add Existing Project.
New Project
When you choose to create a new project, you’ll be presented with a file picker, where you can choose the location of your new project folder.
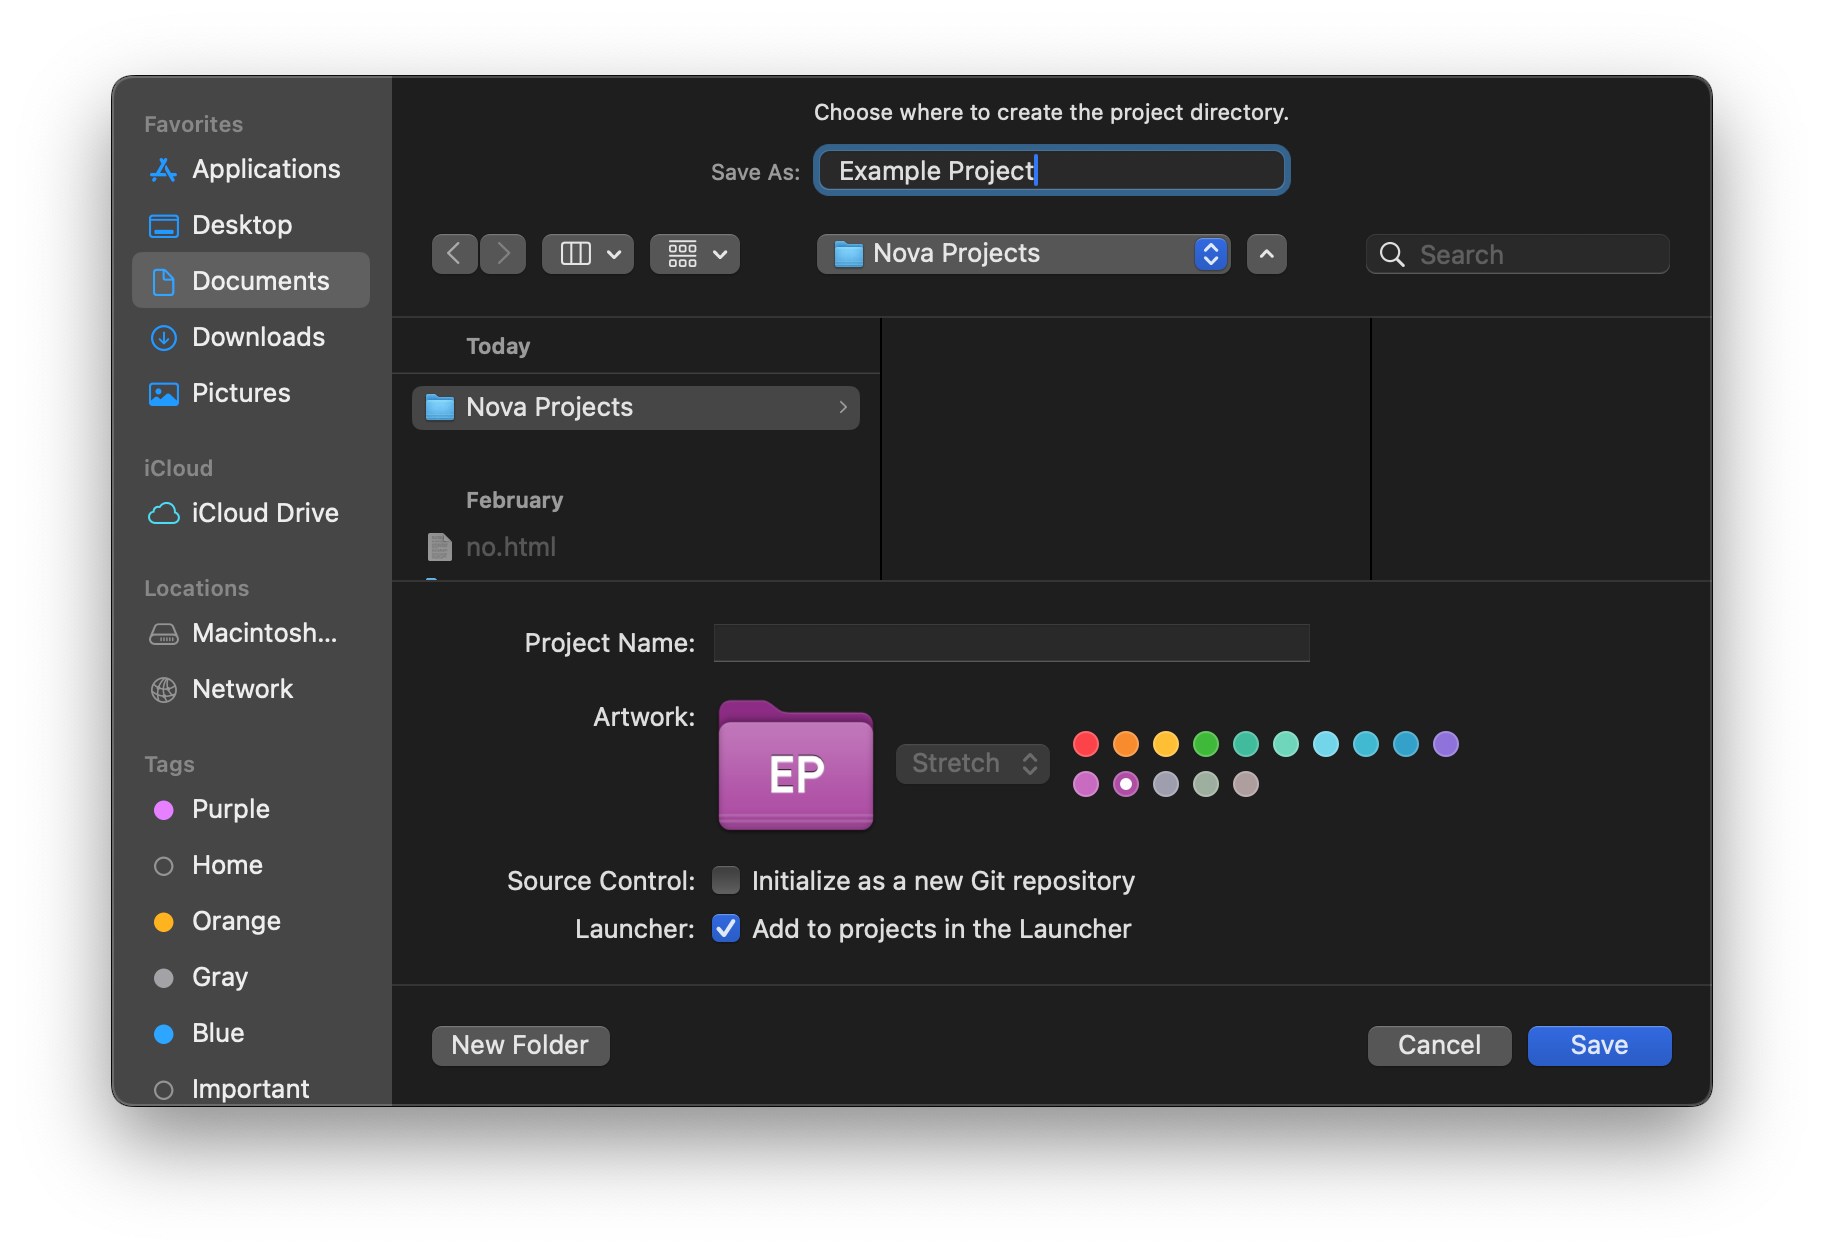
In addition to selecting the location of your project folder, there are several additional options:
- Project Name
- By default, the project name that appears in Nova will be the name of the project folder. However, you can manually specify a display name for the project here, separate from the folder name.
- Artwork
- Nova displays a unique icon for each project you add to the Launcher. By default, we assign a color to the icon and use an initialism of the project name. You can specify custom artwork for your project icons by dragging an image file (such as .png or .jpeg files) to the folder icon here.
-
You can then choose whether to stretch the artwork to fill the folder icon, center the image within the icon, or tile the image repeatedly. You can also specify a color for the folder.
- Initialize as a new Git repository
- If enabled, Nova will automatically initialize a new Git repository in your project folder for you.
- Add to projects in the Launcher
- By default, Nova will add your new project to the Launcher. However, you can uncheck this option to create a project folder without it appearing in the Launcher.
Folders used for Nova projects have a hidden /.nova directory created in the project’s root folder used to store project-specific settings, including your chosen project name and artwork.
Add Existing Project
If you select this option, Nova will prompt you to select an existing folder on your Mac to use as a project folder. If there is an existing Git repository in the folder you select, Nova should automatically detect it and enable Git features within the project. (Git repositories in subdirectories are not currently supported.)
If the folder you select had previously been used as a Nova project, and it still has its hidden /.nova directory within the root folder, Nova should also bring over any existing project settings for the project. This means you can easily copy Nova projects to another Mac or share them with a collaborator, as long as the /.nova directory remains intact.
If the folder you choose to add does not already contain a /.nova folder, one will be created upon adding the folder as a Project.
Add Remote Project
Choosing this option allows you to select a server you’ve configured in Nova to use as a Remote Project.
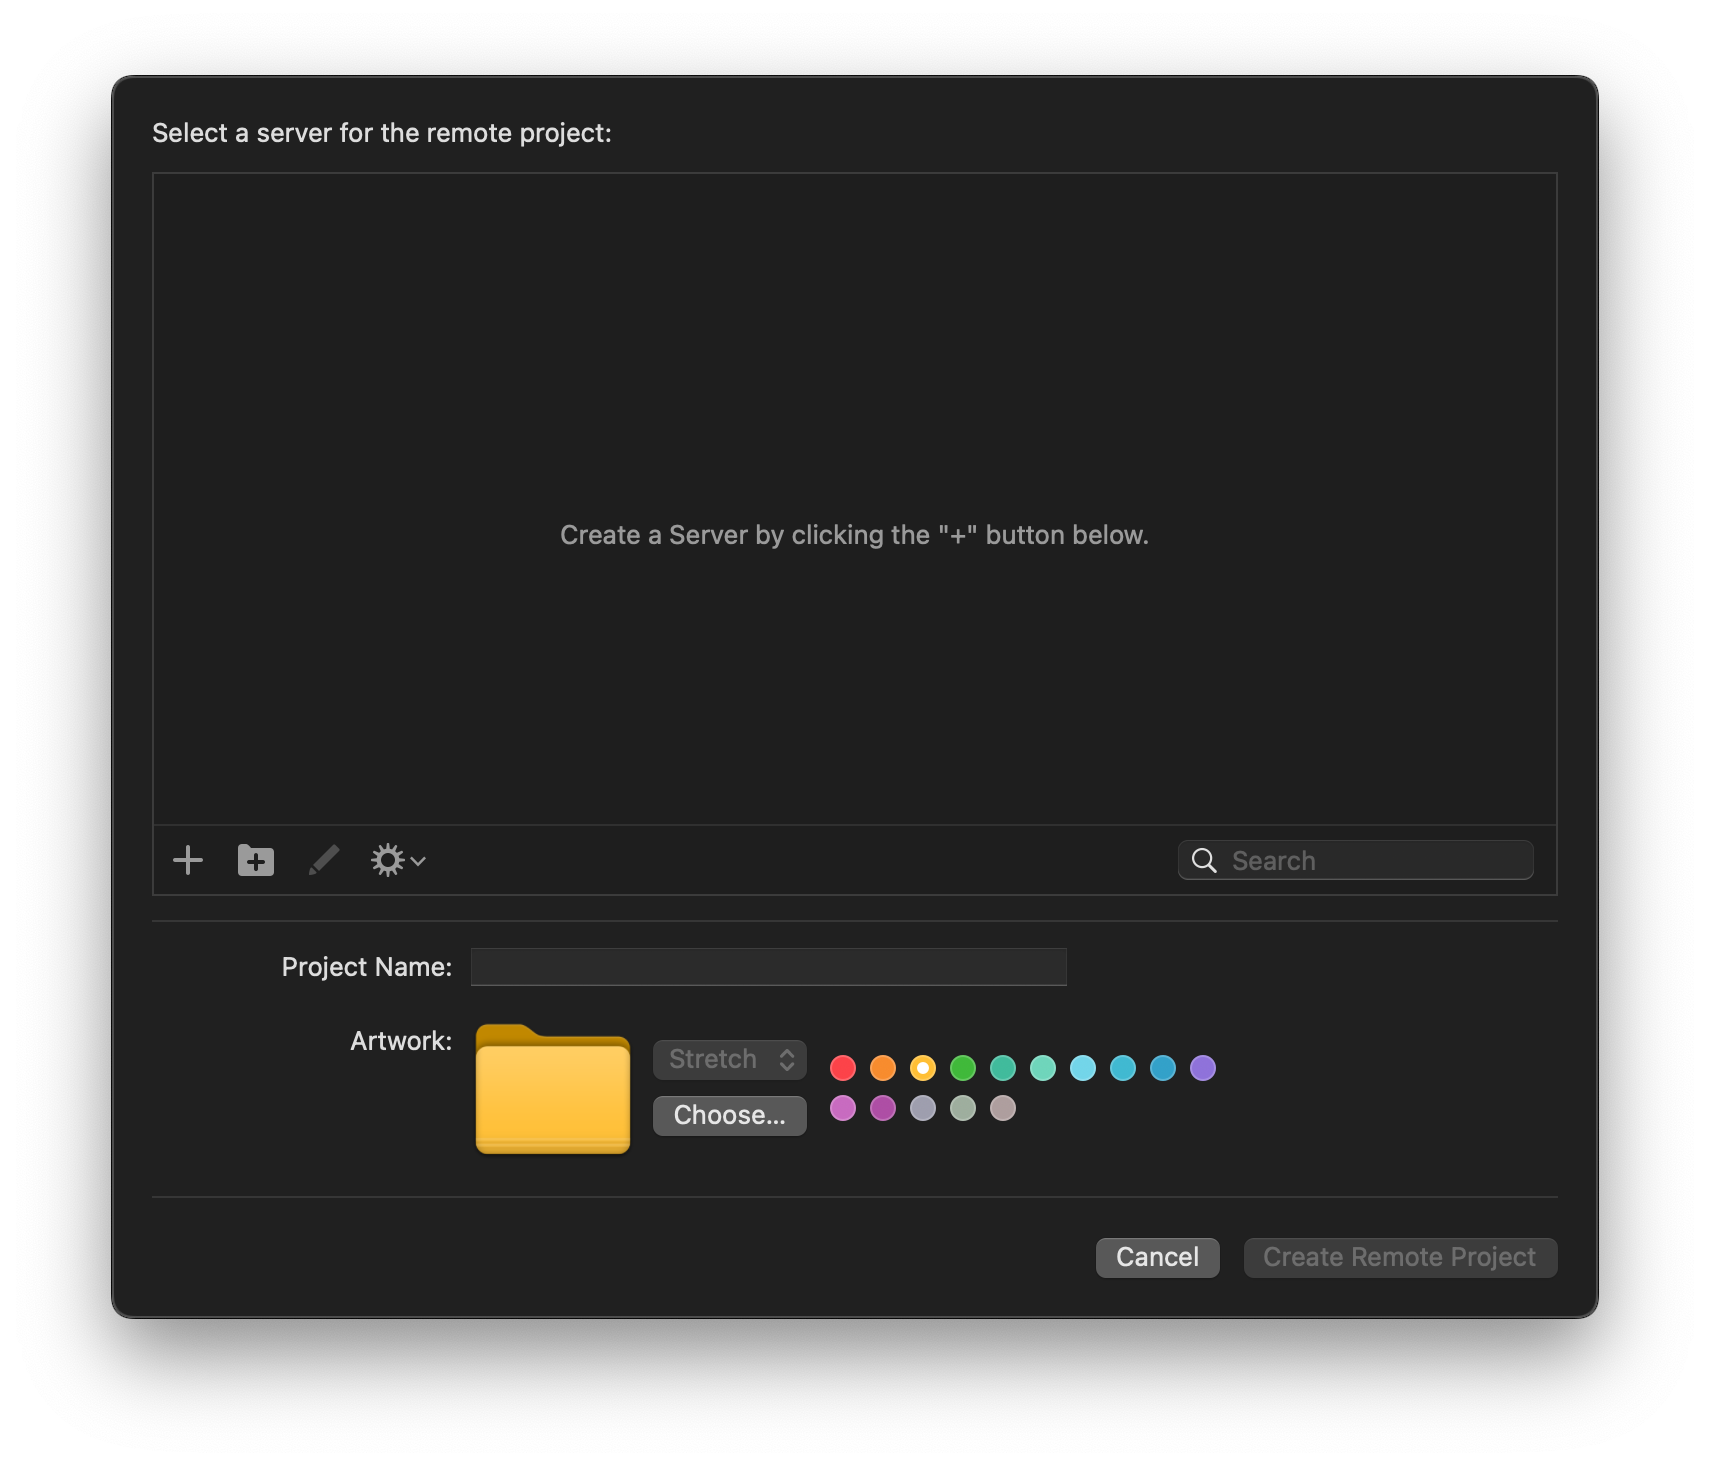
For more information about adding servers to Nova, consult our dedicated article on Servers. You can also designate your Project Name and custom Artwork, just as when creating a new local project.
Clone
This option allows you to clone a remote Git repository to your Mac for use as a local project in Nova.
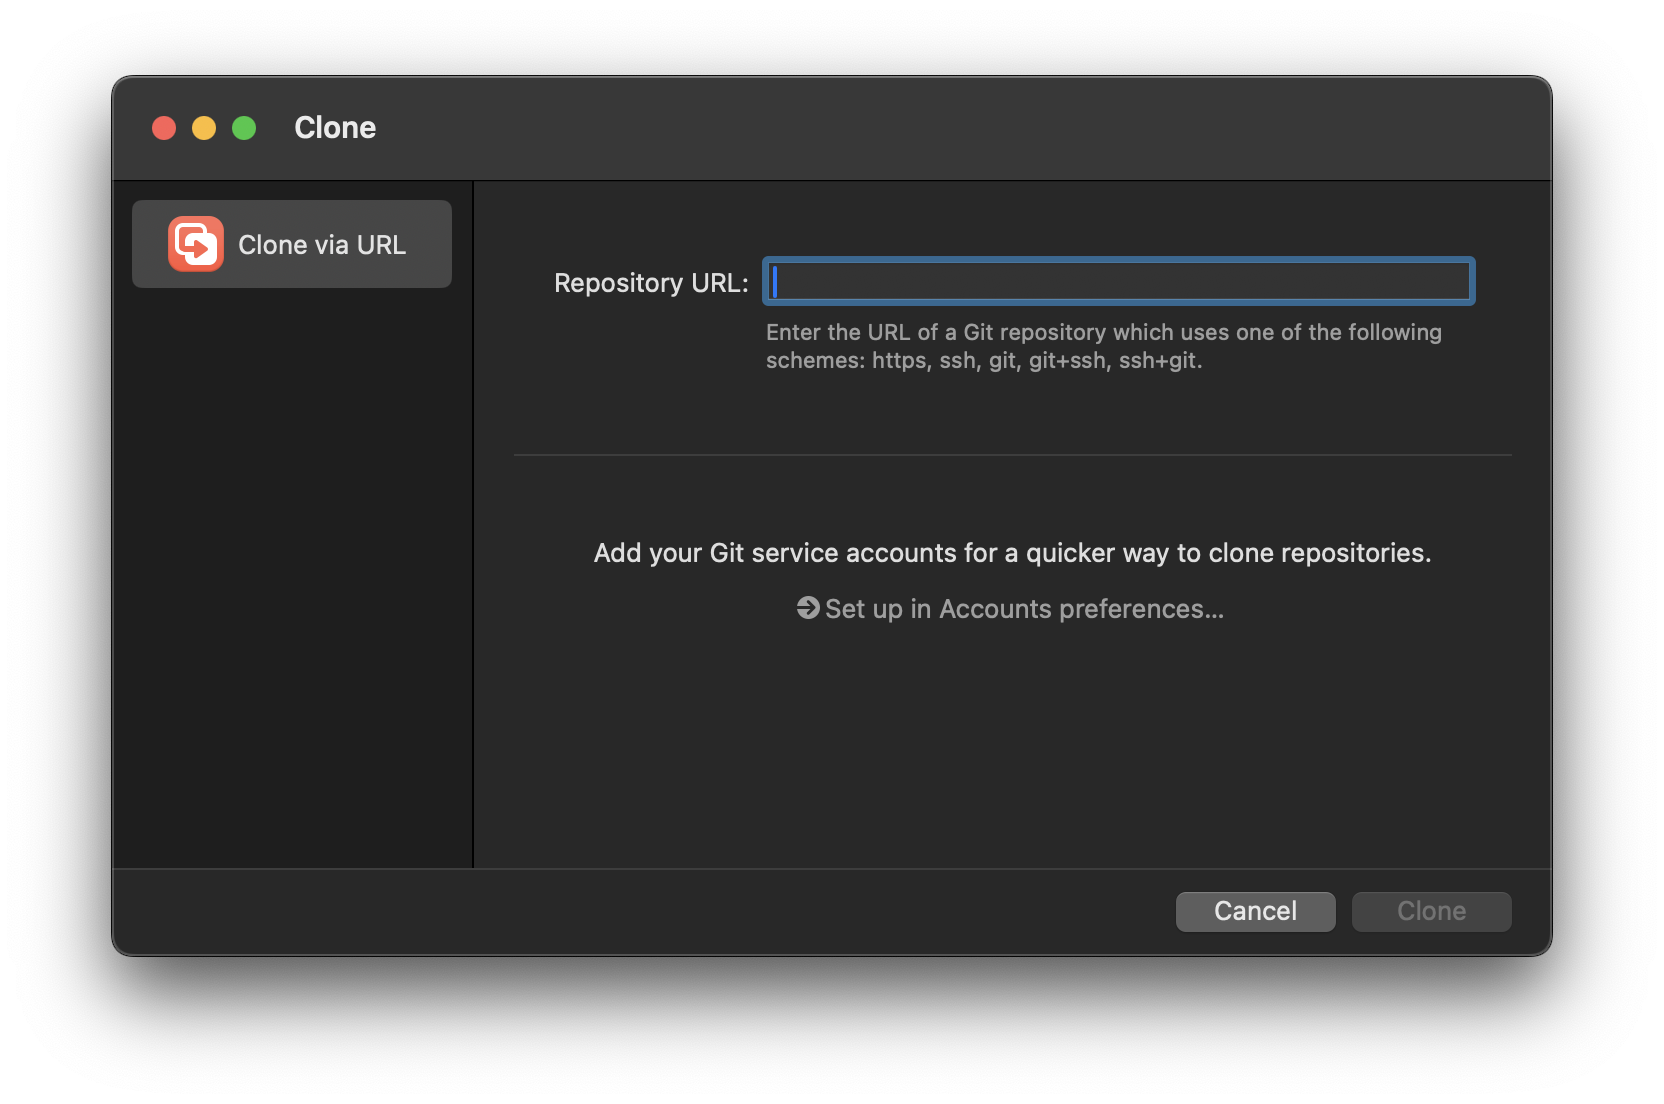
Clone via URL allows you to enter the HTTPS or SSH address of the repository you wish to clone. If you have any Git service accounts configured in Nova, they will be listed on the left. You can select an account to see a list of repositories under that account, and choose one to clone.
Read More:
Editing Projects
Once you’ve added a project to Nova using one of the above methods, it will appear in a grid of icons in the Launcher. Simply double-click a project to open it.
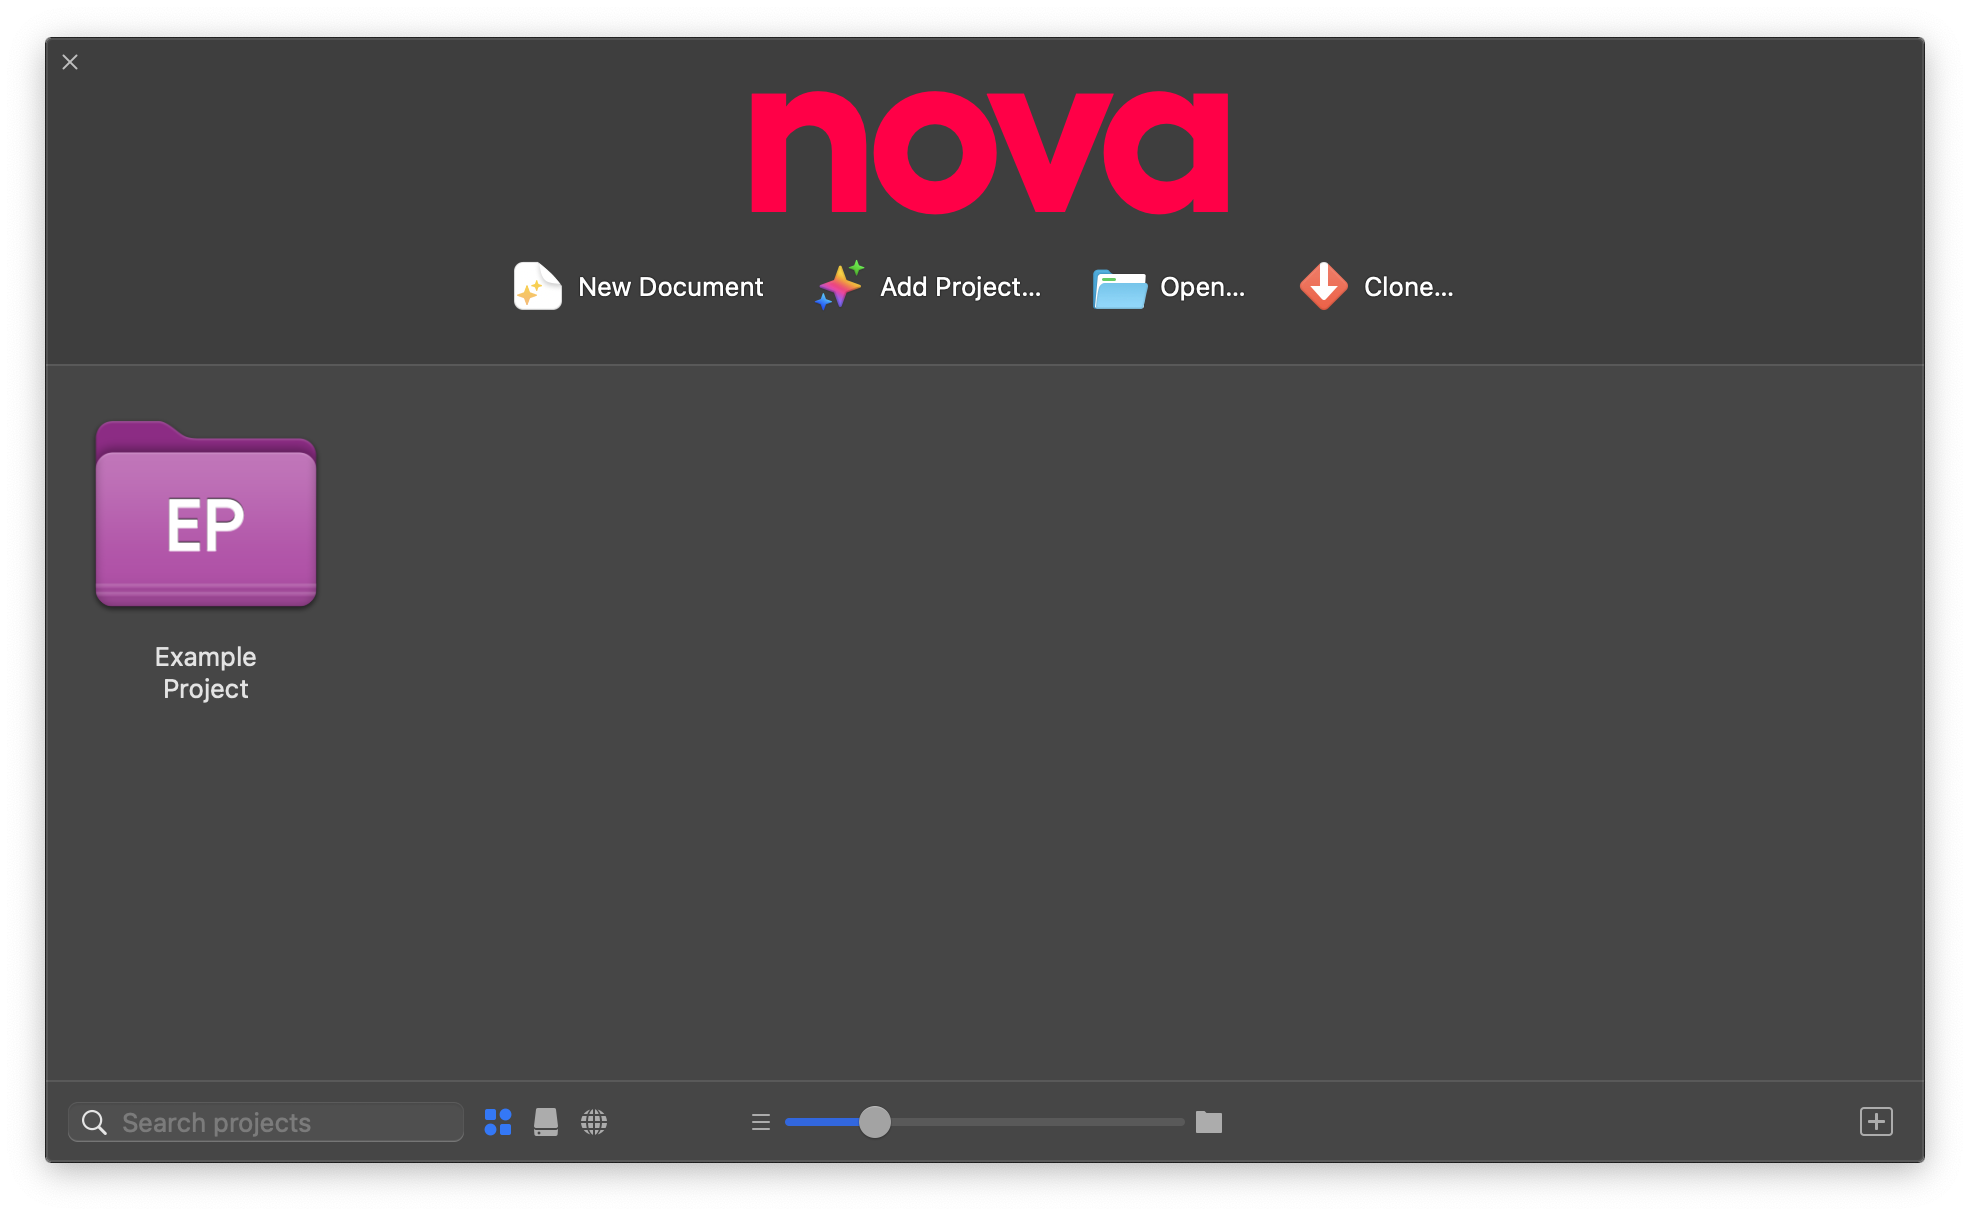
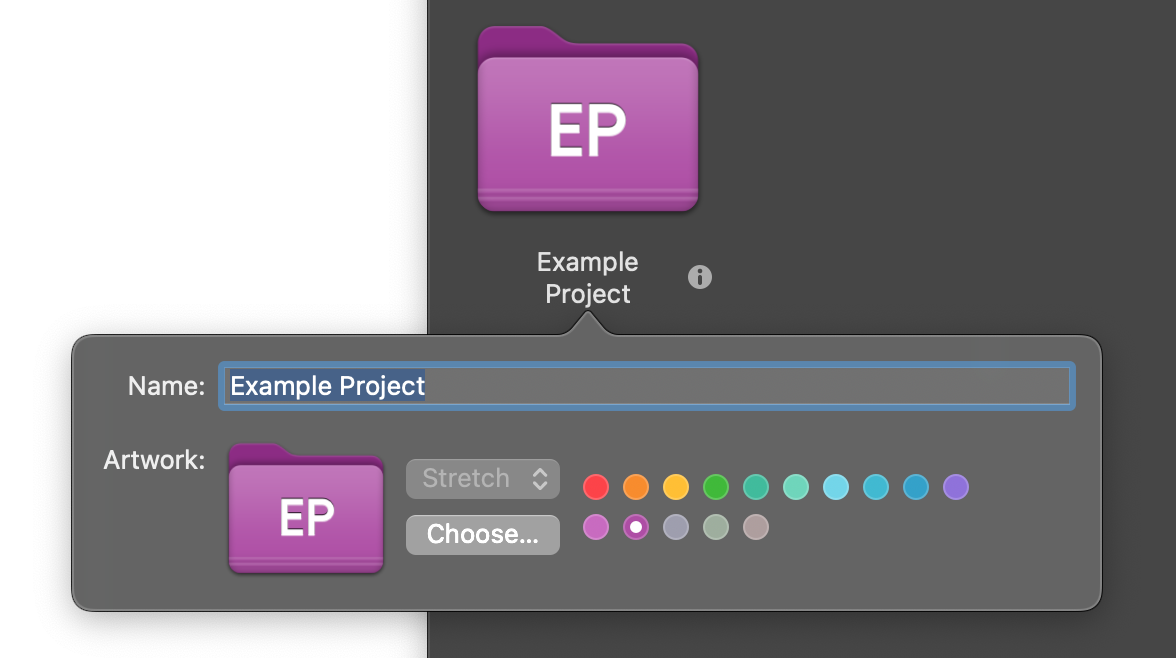
With multiple projects added, you can rearrange them by simply dragging them around the grid. Hovering over a project will display a small ⓘ icon. You can click this to quickly customize a project’s name and artwork.
You can also right-click or ⌃Ctrl+click a project to access additional options:
- Open
- Open the project in Nova.
- Show in Finder
- Reveal the project’s location in Finder. Only available for local projects.
- Server Settings
- Edit the server configuration for the project. Only available for remote projects.
- Remove from Projects
- Remove the project from the Launcher.
- Arrange By
- Automatically arrange the projects in the Launcher, either by Name or Last Access Time.
View Options

Along the bottom of the Launcher, you’ll find several options for adjusting how it displays your projects.
- Search projects
- Filter the list of displayed projects by name.
- Show all projects / Show local projects only / Show remote projects only
- Select one of these icons to display all your projects, only your local projects, or only your remote projects. You can also press ⌘1, ⌘2, or ⌘3 (Command+1, 2, or 3) respectively to toggle between these options.
- Adjust size of icons
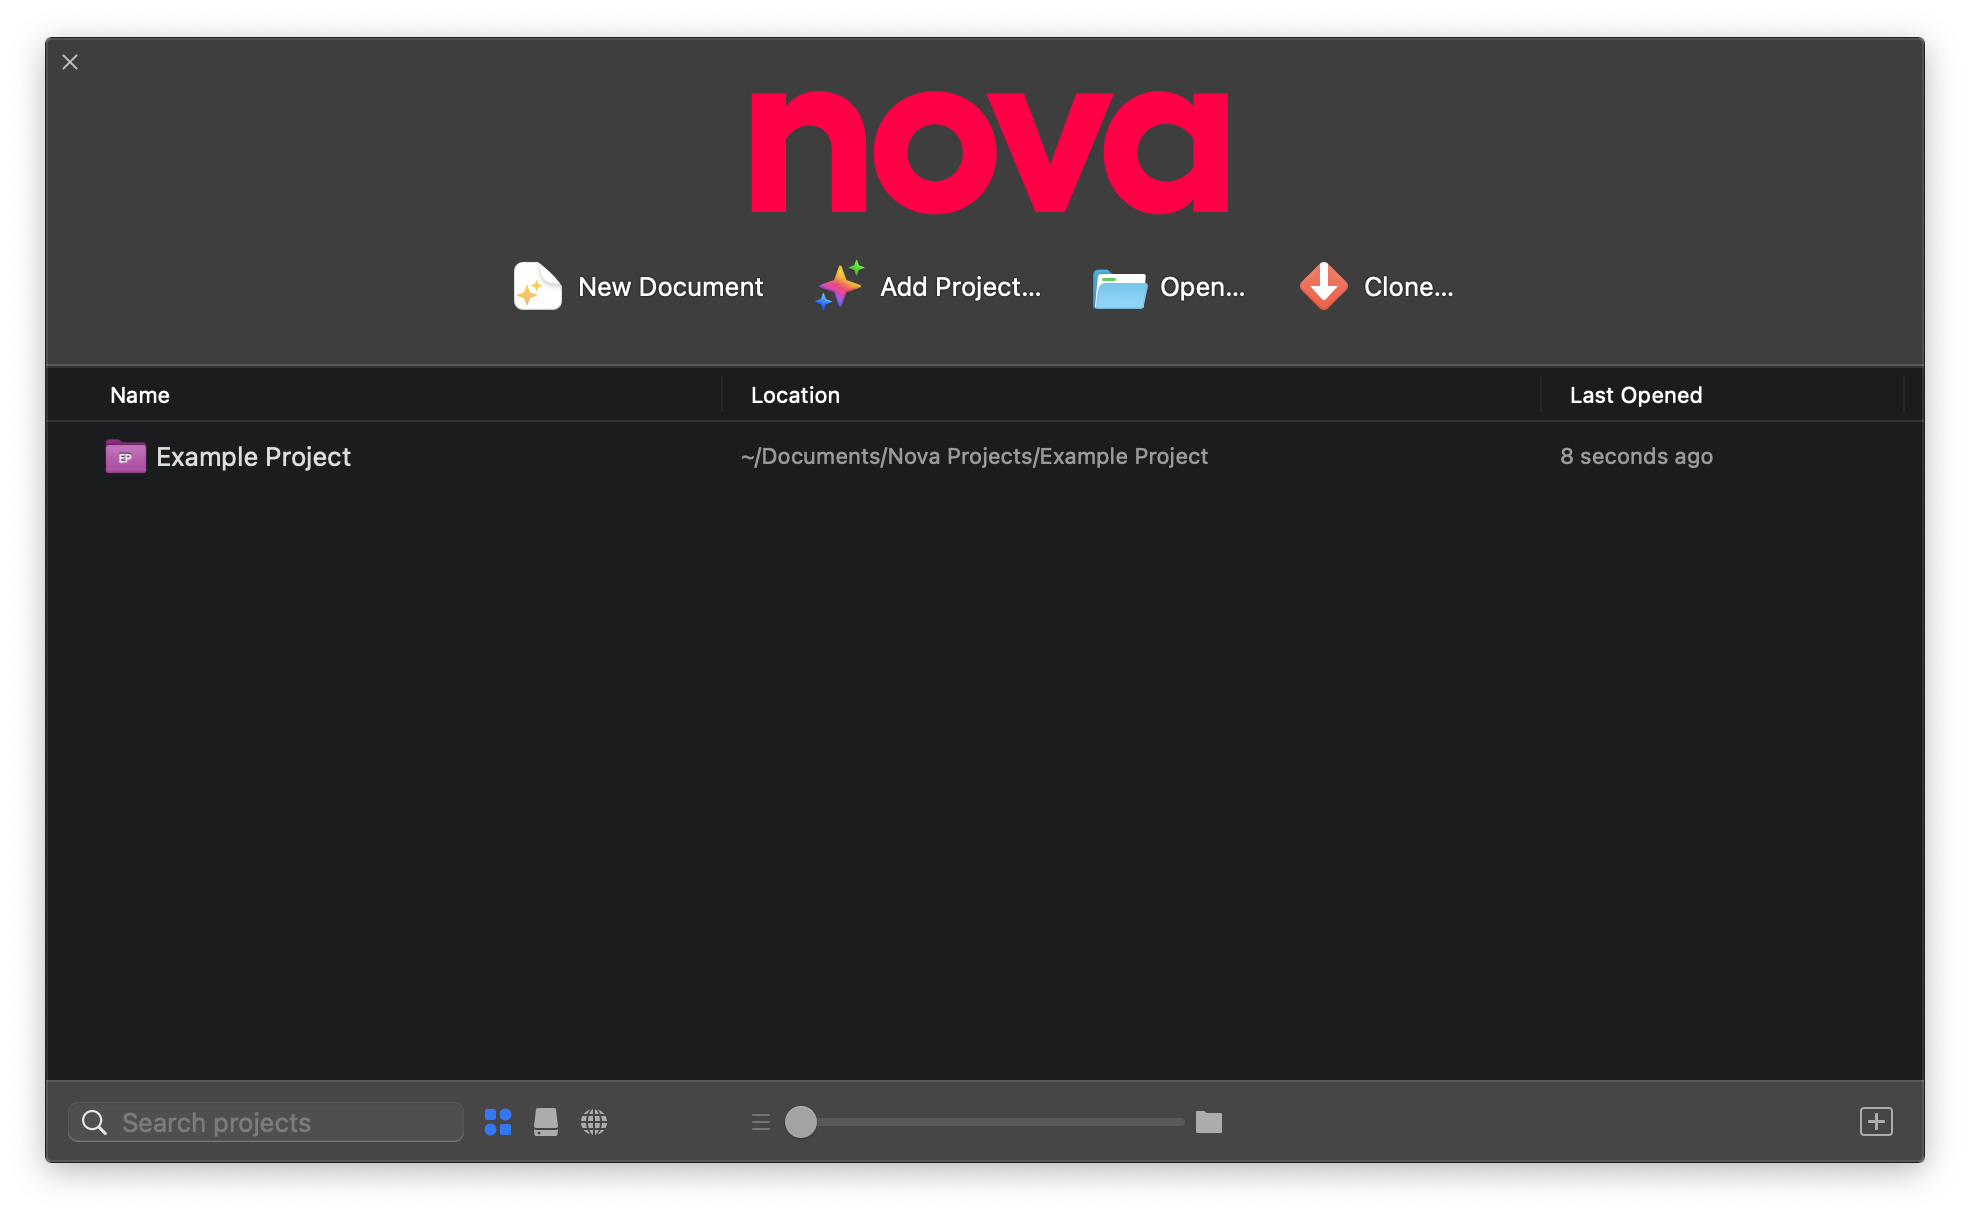
- Adjust this slider to change how large project icons appear in the launcher. Moving this slider all the way to the left will put the Launcher in List View, rather than showing a grid of icons:
Project Groups
|
Once you have many projects in your Nova Launcher, you may want to organize them into Project Groups. These act as ‘folders’ in the Launcher containing multiple projects, so you can group related projects together. To create a Project Group, click the + icon in the bottom-right corner of the Launcher, or simply drag one project on top of the other. Once a group has been created, you can drag Projects to the group’s icon to add them to the group. |
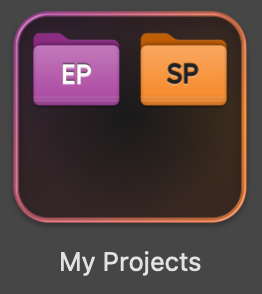
|
As with projects, you can click the small ⓘ icon that appears when hovering over the group to change the group’s name. Double-clicking a group will expand the group, allowing you to select a project it contains.
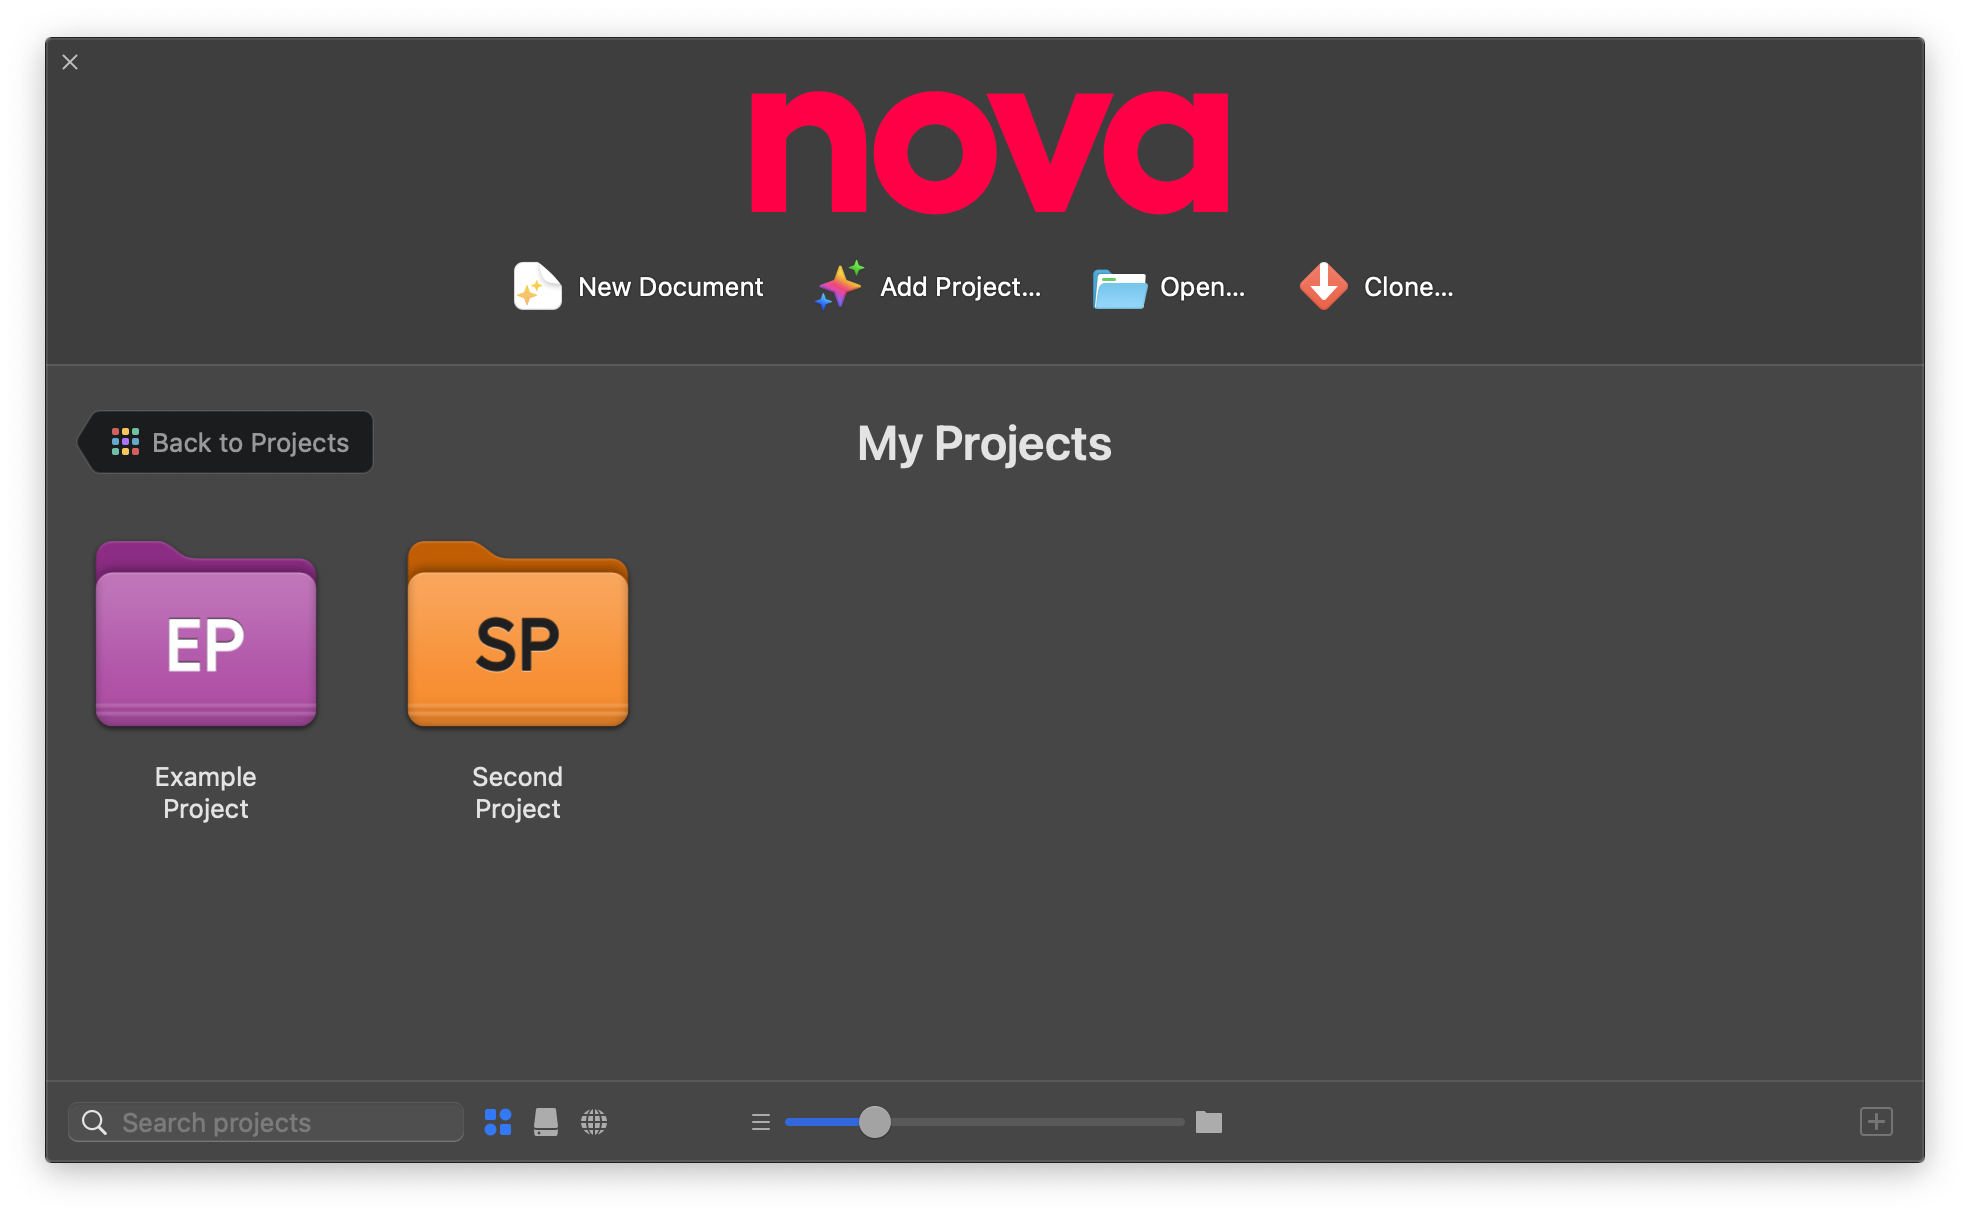
|
Next → The Workspace |