The Workspace
The main window used when working in Nova is called the Workspace.
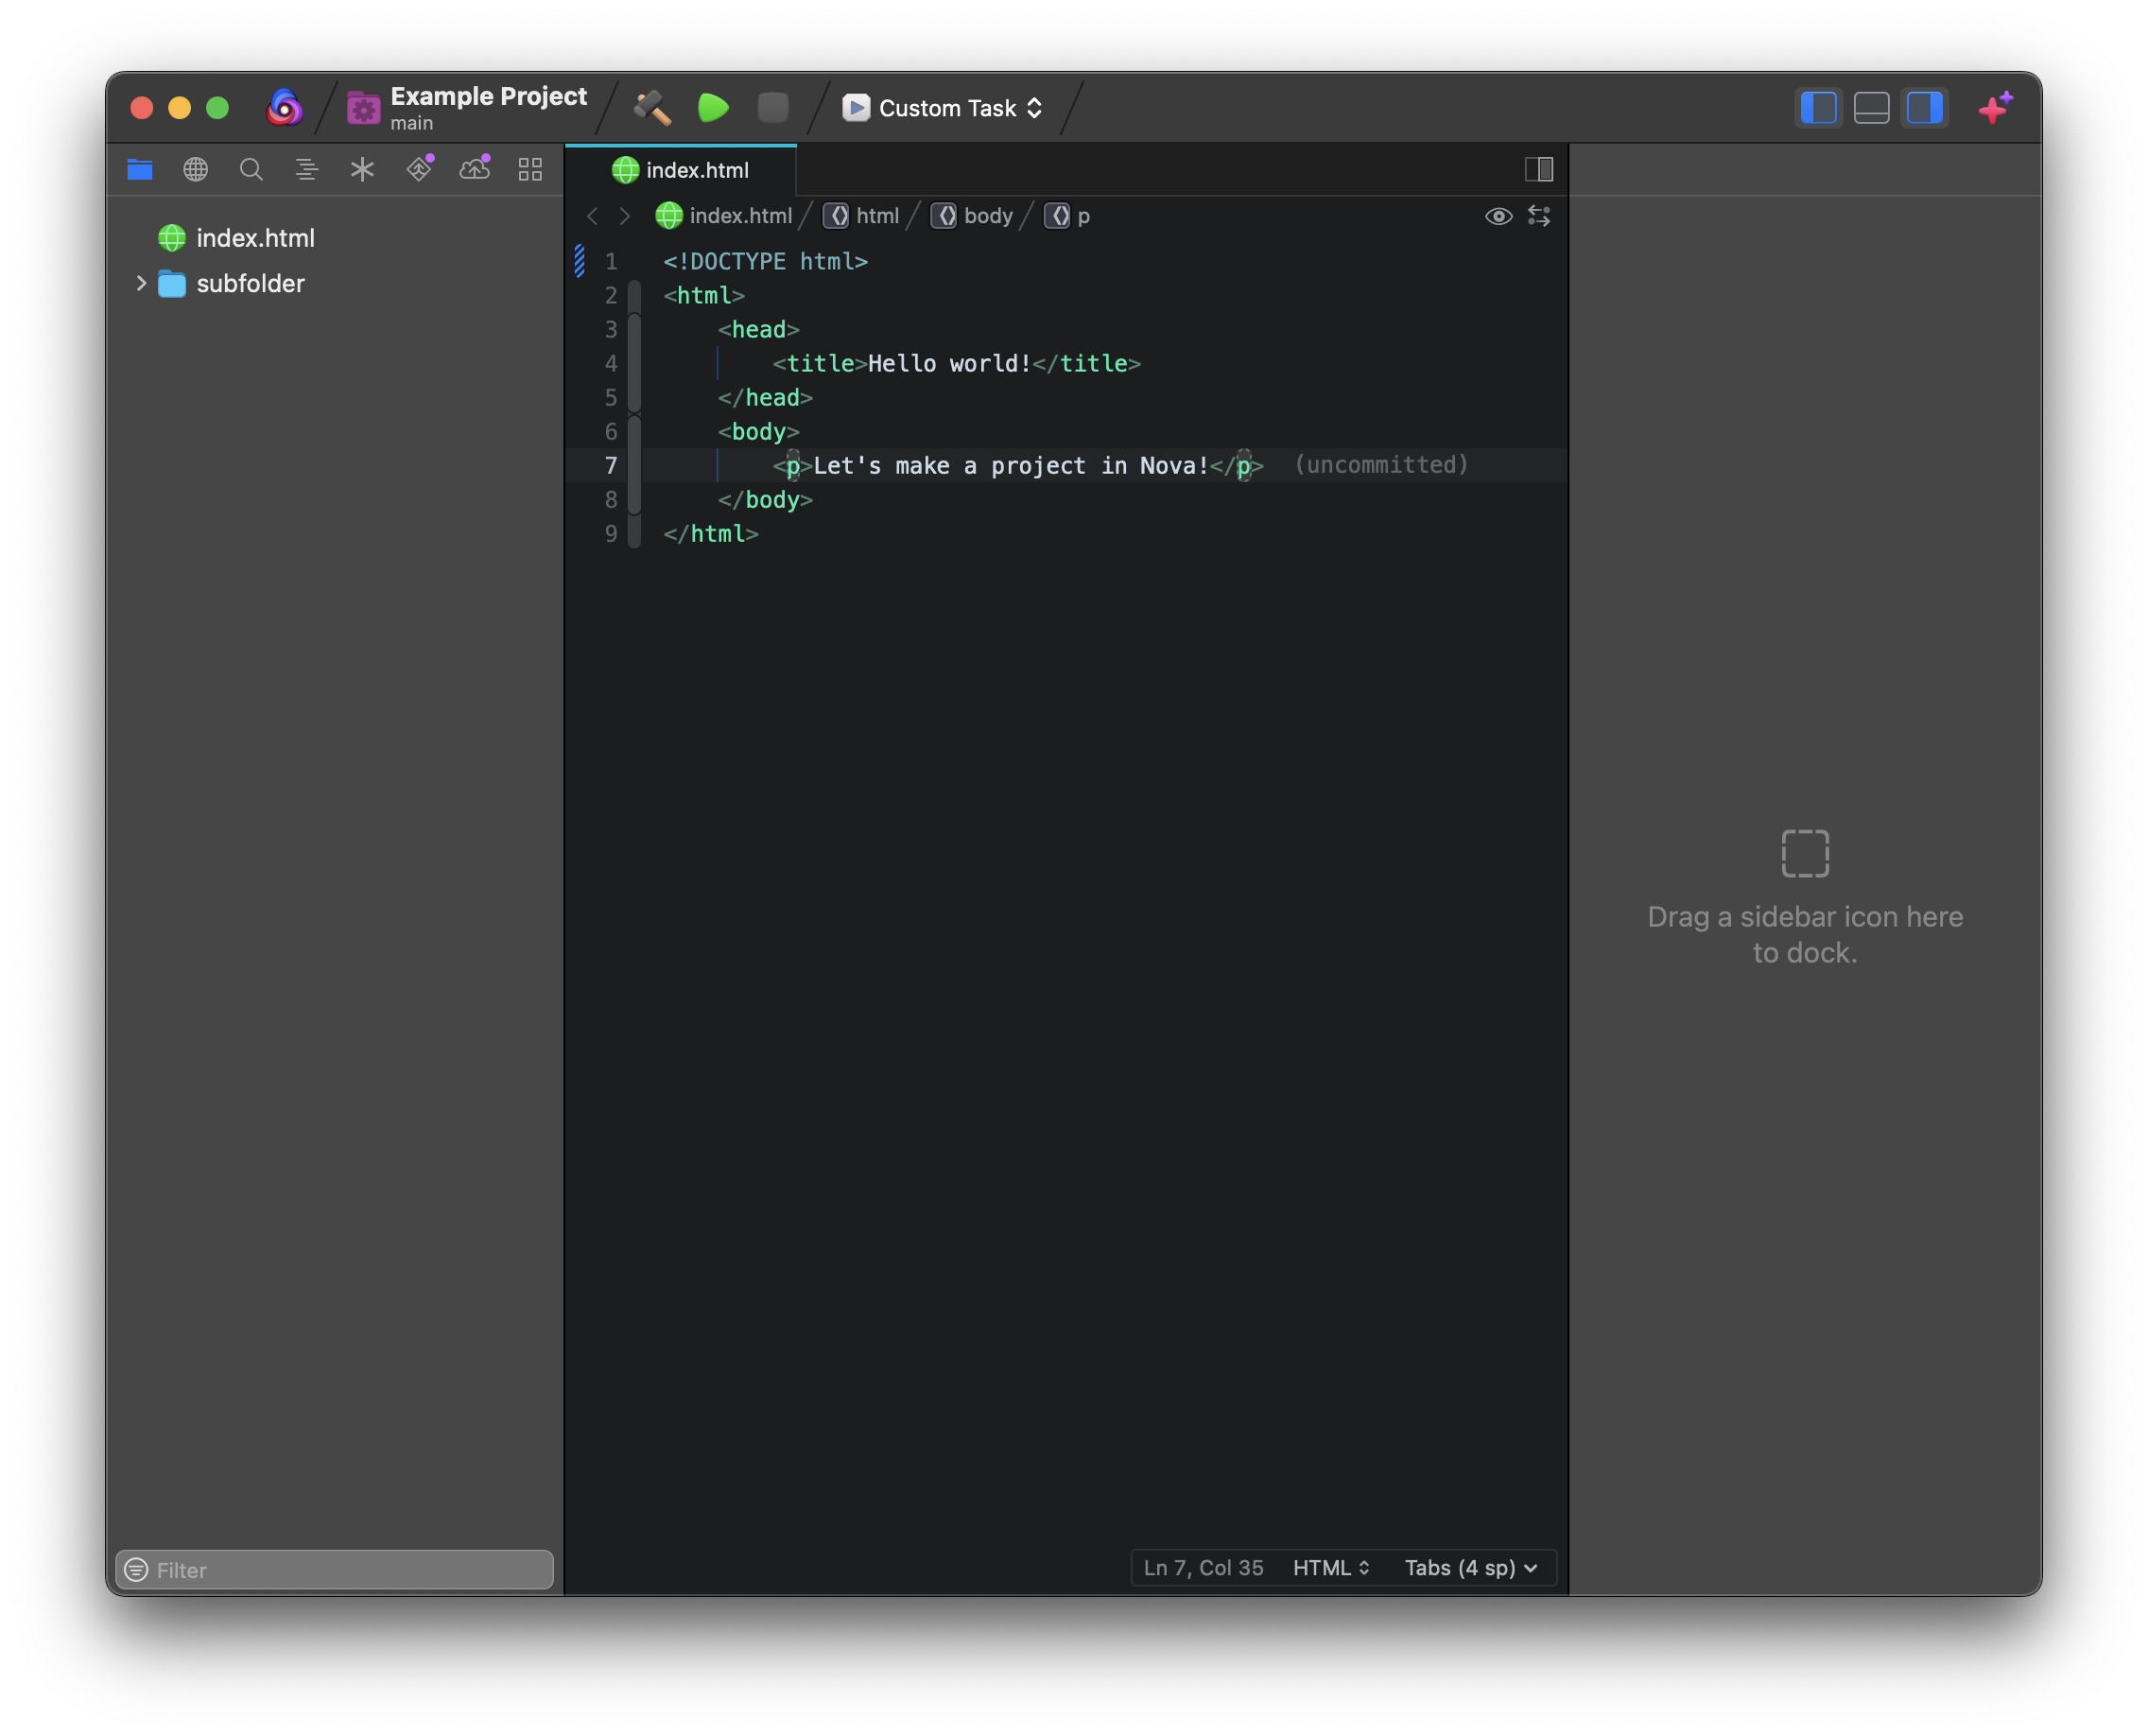
The Workspace window is made of four components: the toolbar, the content area, the left and right sidebars, and the Debug Pane.
Toolbar

The toolbar provides quick access to commonly used controls across your project. From left to right, the toolbar contains:
- The Nova Icon

- Click the Nova icon at any time to reopen the Launcher.
- Project Details

- See the name of the current project you’re working in, as well as the current Git branch (if available). Click this to open Project Settings.
- Task Controls


- Build your project, run and stop the selected Task, and switch between Task configurations. These controls are only shown if a Task has been configured for this project.
- Sidebar and Pane Controls


- Quickly show and hide the left and right sidebars, as well as the Debug Pane.
- New Tab

- Click here to open a new tab in the content area.
Certain status indicators may temporarily appear in the toolbar as well, showing the progress of indexing, running Tasks, and file transfers. These will disappear once their operations are complete.

Content Area
The content area is where you’ll do most of your work. Your Editor, Preview, Terminal, and File Browser tabs open here by default.
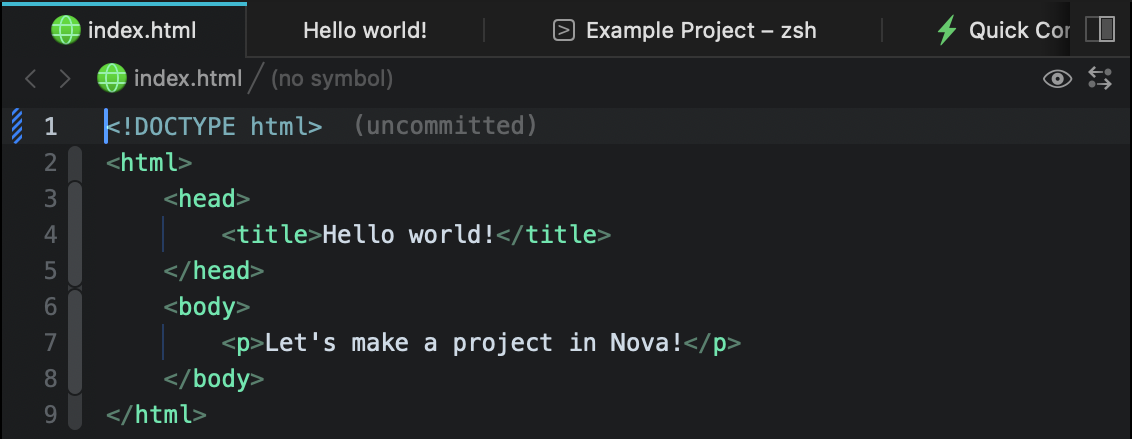
Along the top of the content area is the tab bar, where you can easily switch between open documents. You can open a new tab from the ![]() New Tab button in the toolbar. If the tab bar isn’t wide enough to display all open tabs, it will become scrollable with your mouse or trackpad.
New Tab button in the toolbar. If the tab bar isn’t wide enough to display all open tabs, it will become scrollable with your mouse or trackpad.
It’s also possible to pin tabs by right-clicking them and selecting Pin Tab from the context menu. Pinned tabs will remain sorted first on the left end of the tab bar. You can unpin a tab by dragging it to the right of pinned tabs in the sidebar, or selecting Unpin Tab in the context menu.

Split Views
The content area can be split into multiple views, allowing you to view the contents of multiple tabs at once. For instance, you may want to have a Preview split next to the document you’re editing, or have a Terminal tab docked below your editor.
Each split can contain its own set of tabs, with its own tab bar to switch between them.
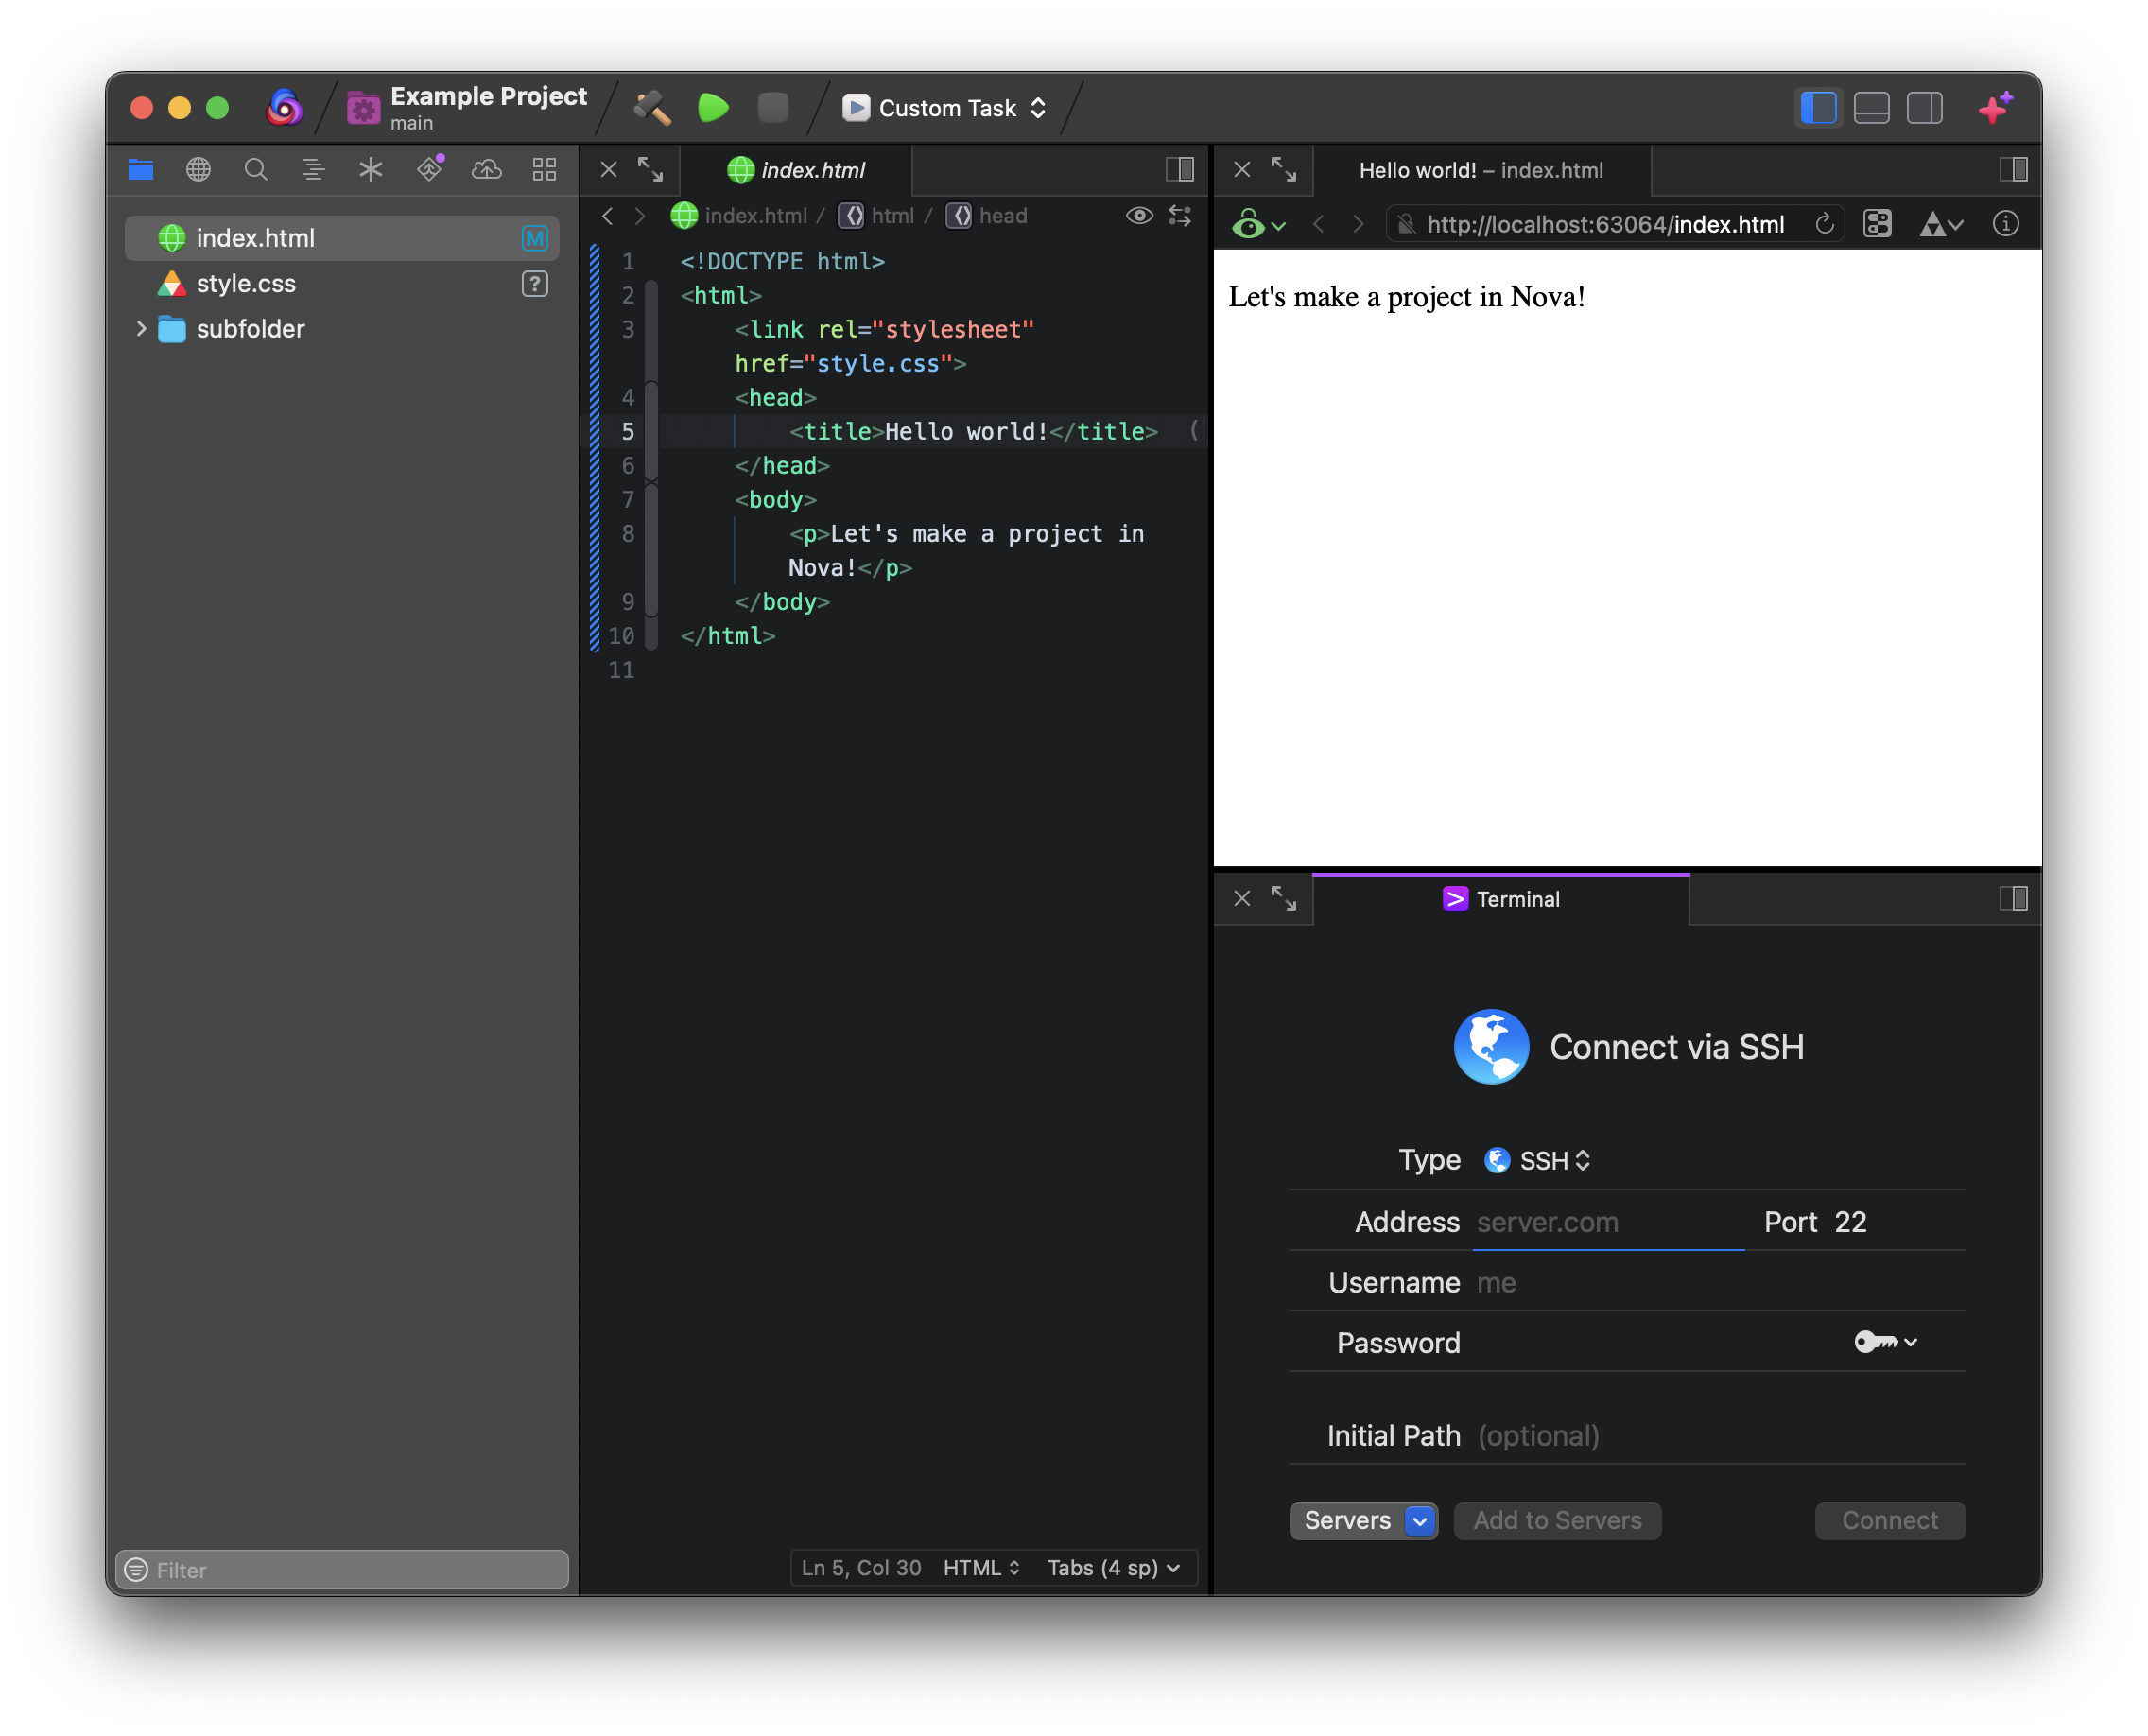
To open a new tab in a split, click the New Split button on the far right of the tab bar. By default, new splits will open to the right of the current pane. Holding ⌥ Option while clicking the New Split button will open a split below the current pane instead. You can also manually drag tabs from the tab bar into other splits, or create a new split.
NOTE: You can change the default direction for new splits in Settings > Workspace. If the default direction is set to “Below”, holding Option when clicking the New Split button will instead open the split to the right.
For details on more advanced split view features, see our dedicated article on Split Views.
Sidebars
On the left and right edges of the workspace window are Sidebars. You can toggle the visibility of the left and right sidebars with the ![]()
![]() controls in the toolbar.
controls in the toolbar.
By default, the left sidebar shows the Files Sidebar, which provides a directory view of the local files in your project. You can toggle between different sidebar views using the Sidebar Dock along the top of the sidebar.
- Files Sidebar
- A list of the local files in your project. Learn More →
- Remote Sidebar
- View remote files hosted on any servers connected to your project. Learn More →
- Find Sidebar
- Perform find and replace operations across your project. Learn More →
- Symbols Sidebar
- View classes, functions, variables, IDs, and more in the focused document. Learn More →
- Clips Sidebar
- Manage pre-made text snippets you can easily insert into documents. Learn More →
- Debug Sidebar
- View and toggle breakpoints in your project. Not in the Sidebar Dock by default. Learn More →
- Git Sidebar
- Fetch, pull, and commit changes to the project’s Git repository, as well as view branches, changed files, and commit history. Learn More →
- Publish Sidebar
- Use Publishing to batch-upload local changes in your project to a remote server. Learn More →
- Issues Sidebar
- Lists warnings and errors found across your project. Not in the Sidebar Dock by default. Learn More →
- Reports Sidebar
- View output reports from Tasks. Not in the Sidebar Dock by default. Learn More →
- All Sidebars
- View all available Sidebars, and drag them to your Sidebar Dock for quick access.
Additionally, extensions may provide their own Sidebars.
Customization
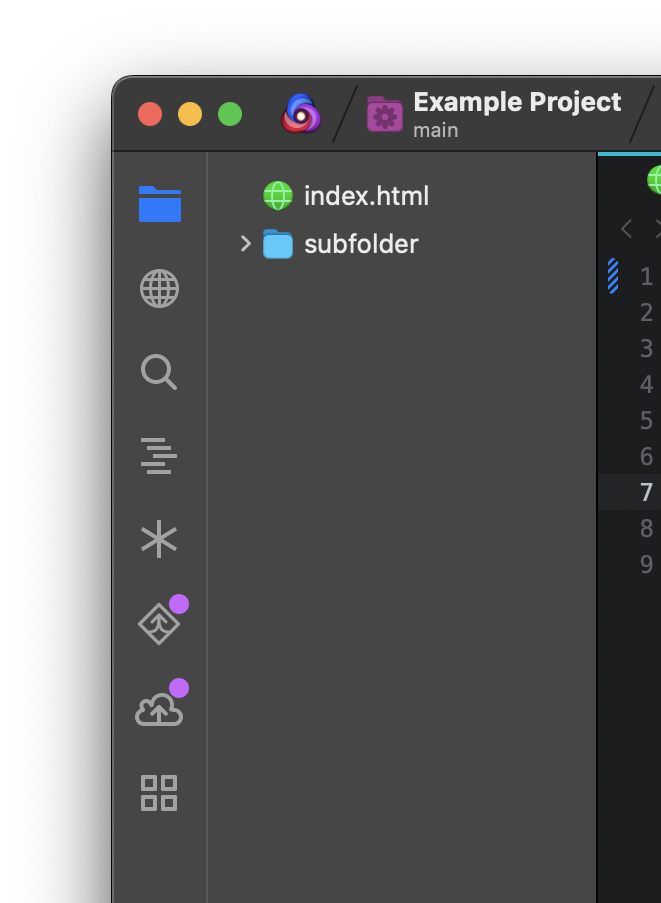
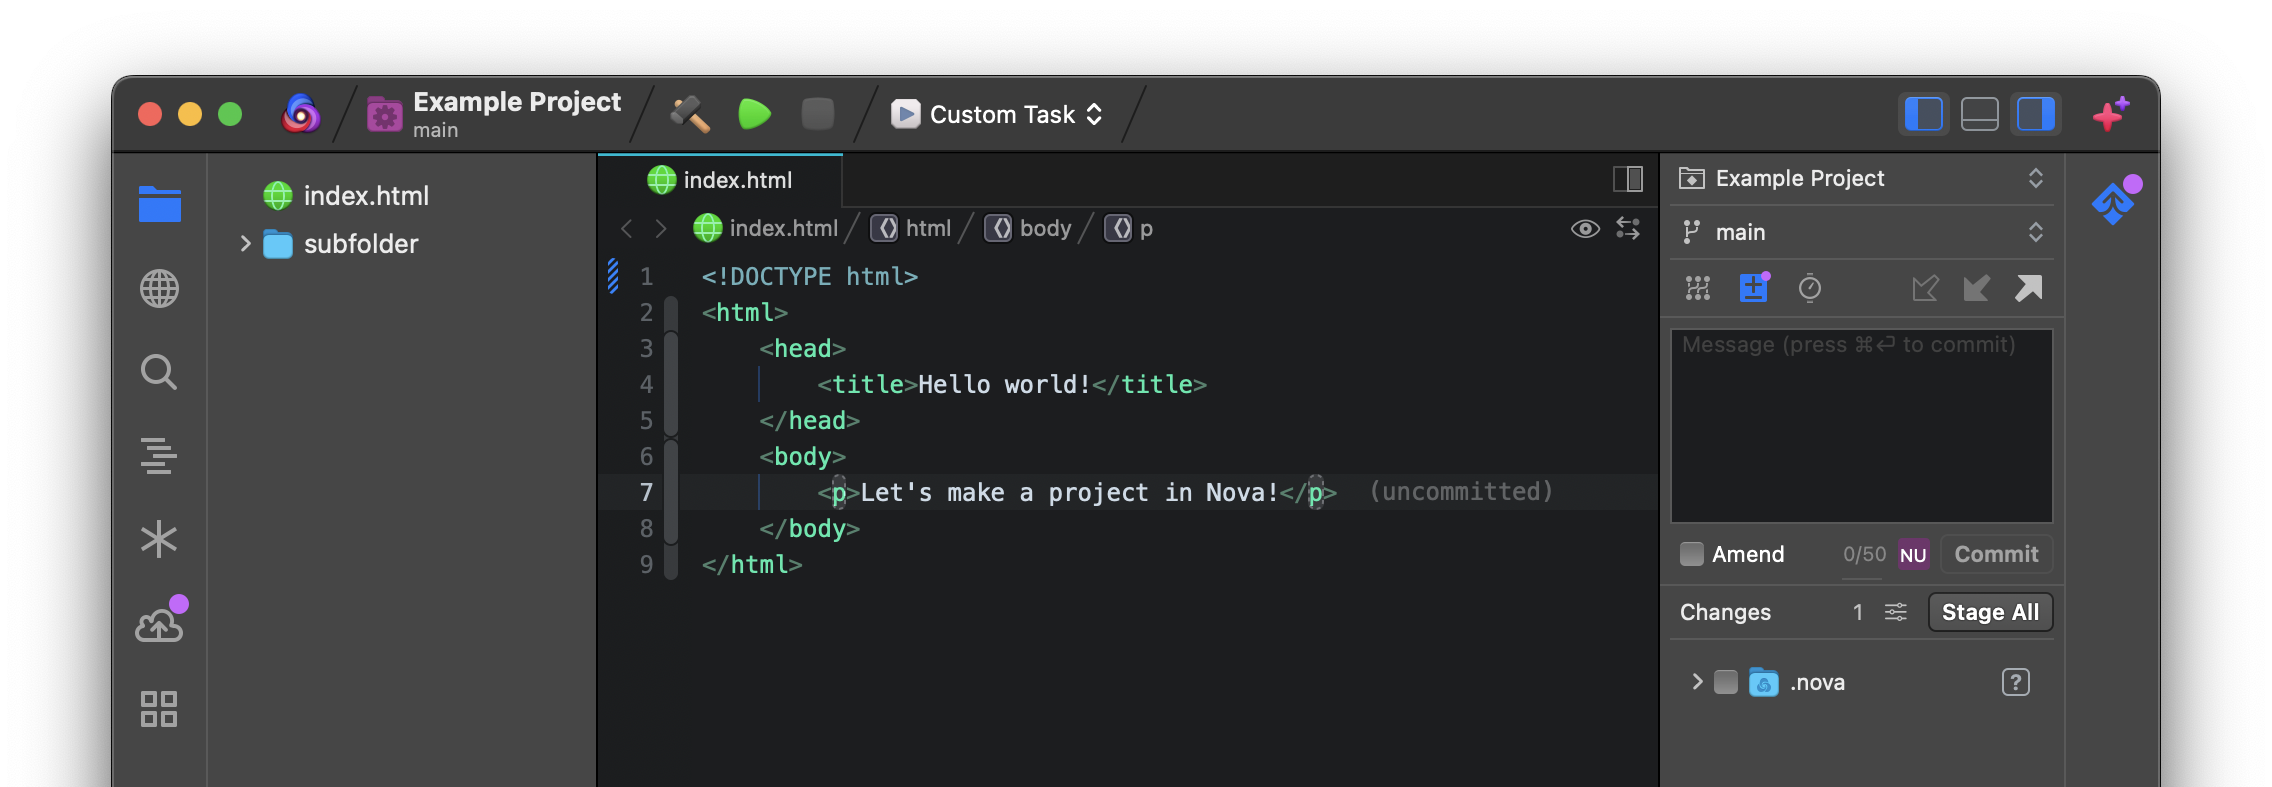
You can reorder the Sidebar Dock however you’d like by simply dragging each icon across it. You can remove a sidebar by dragging its icon out of the Dock. To add a sidebar, select the “All Sidebars” option and drag the icon you want into the dock.
|
Nova 12 and newer support a vertical Sidebar Dock. This can be enabled from Nova’s Settings > Workspace > “Sidebar Dock Orientation”. You can also choose between small, medium, or large icons for the Sidebar Dock in Settings > Workspace > “Sidebar Dock Icon Size”. |
|
The left and right sidebars have their own Sidebar Docks, so you can have different sidebars visible in each one. For instance, you might want to keep your Files Sidebar visible on the left side while keeping your Git changes visible on the right. Simply drag a Dock icon from one sidebar to the other to relocate it.
Debug Pane
Hidden by default is the Debug Pane, a lower ‘drawer’-style view which can be toggled with the ![]() button in the toolbar.
button in the toolbar.

There are three selectable views in the Debug Pane, which you can switch between with the tabs along its top.
- Debug Console
- View live information about a running Debug Task, and step through running code. Automatically opens when breakpoints are triggered. Learn More →
- Extension Console
- For extension developers to view console output from their extensions.
- Transcript
- Display a live log of Nova’s communications with remote servers. Useful for troubleshooting connectivity or authentication issues with servers.
|
← Previous The Launcher |
Next → Split Views |