Servers
Nova supports connecting to a wide variety of remote servers, allowing you to upload your projects to a server, download files to your Mac, or use SSH to access a remote shell. Server configurations, such as addresses and credentials, can be stored for easy reuse. You can manage your servers from Nova’s Settings > Servers.
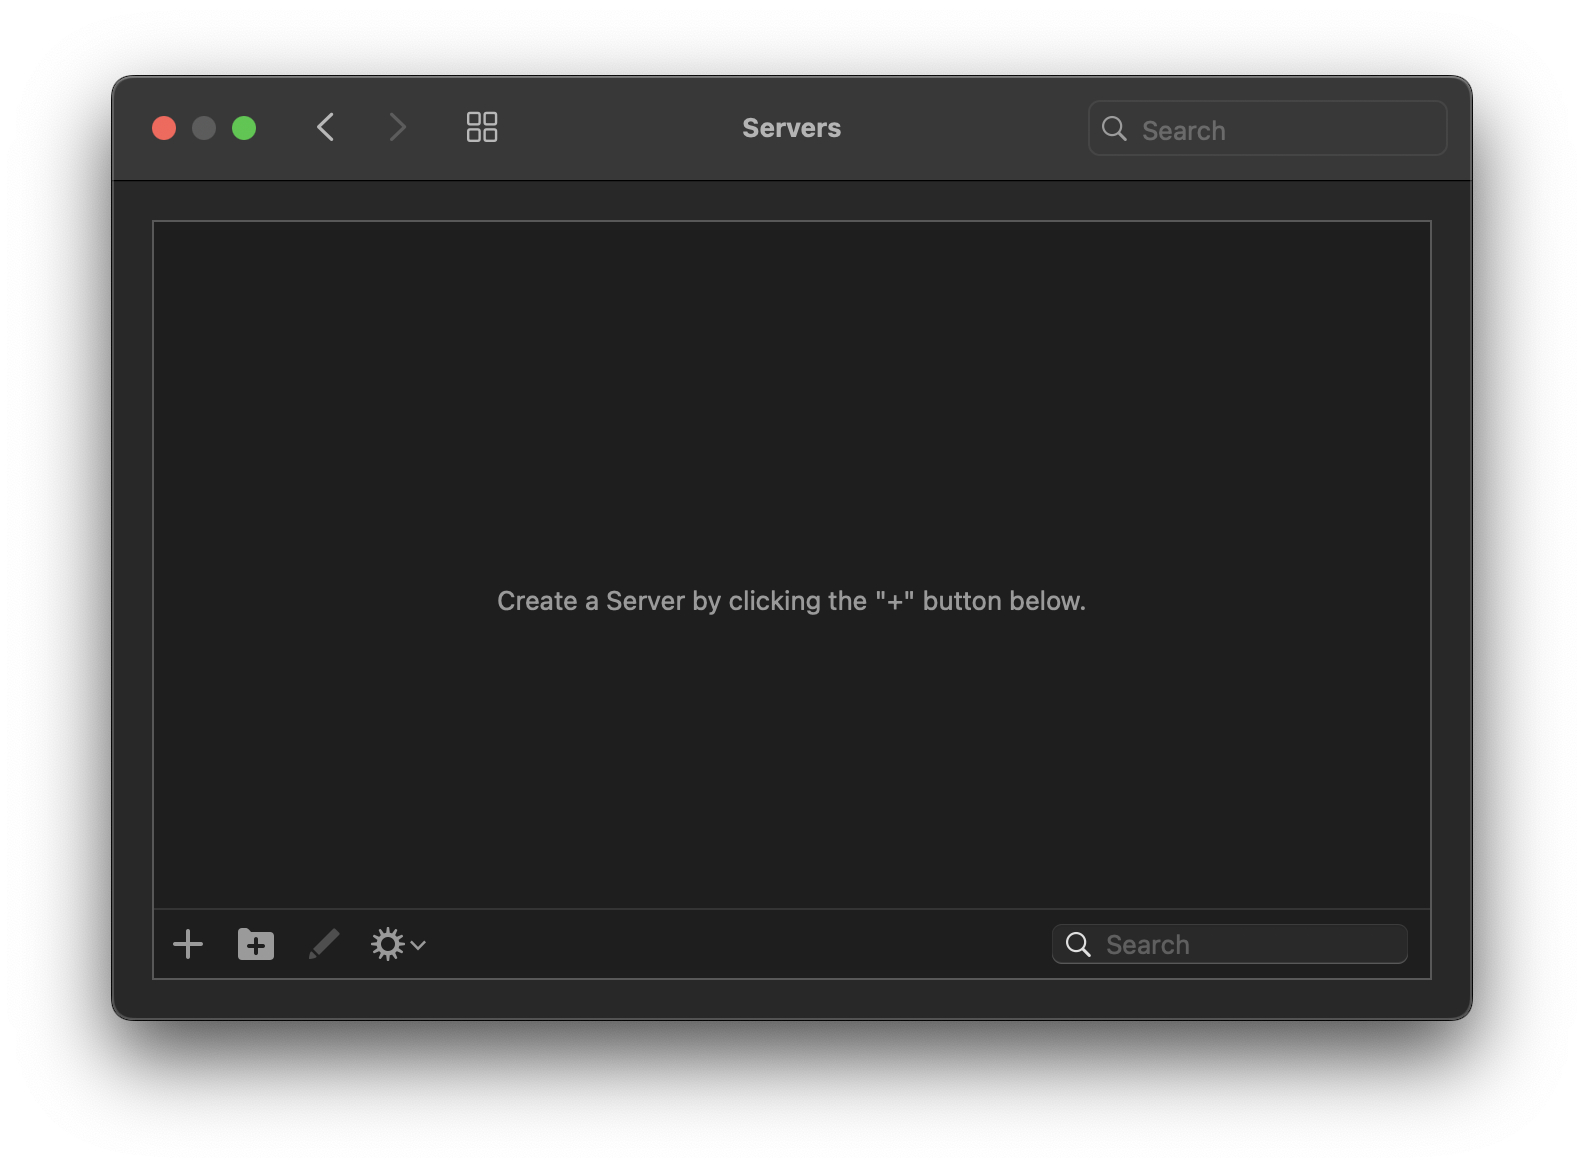
Adding Servers
From the Servers settings pane, simply click the plus (+) button to add a new server configuration.
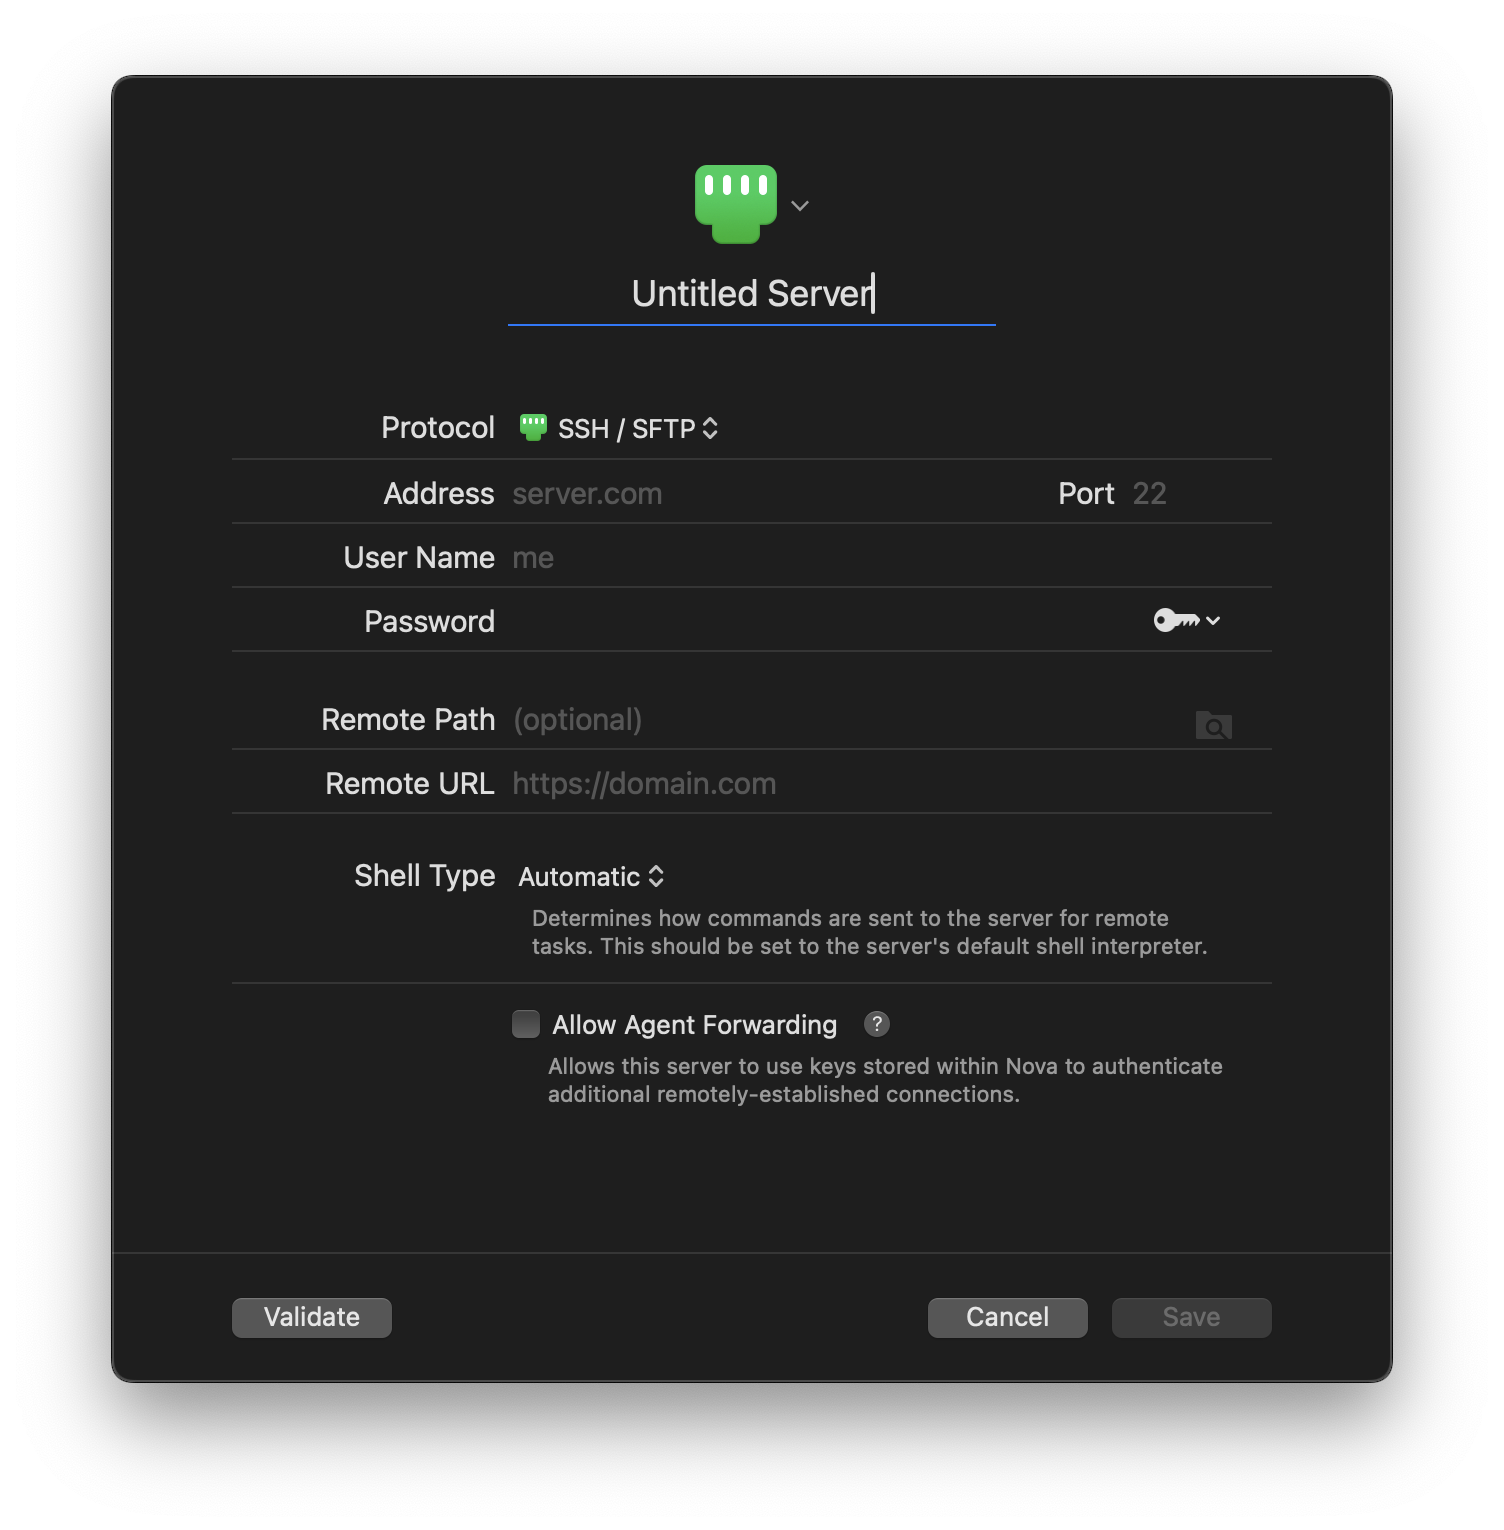
You’ll need to select the protocol your server uses, your server’s address or hostname, as well as any required credentials. The exact information you’ll need to provide will vary depending on the protocol.
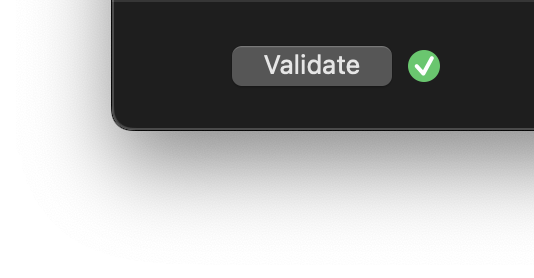
Once you’ve entered the necessary information, you can click Validate in the bottom-left corner to confirm that Nova can connect to your server. A green checkmark will appear if the connection was successful. If validation fails, an error message will be displayed regarding why the connection was unsuccessful.
After adding a server, you can edit this information any time in the Servers settings pane by double-clicking a server, or selecting a server and clicking the icon. You can also copy your saved password from the icon in the password field.
NOTE: Server passwords are stored in the macOS Keychain. You can find them if needed by searching for your server’s hostname or IP address in Keychain Access (support.apple.com).
Supported Protocols
Nova supports servers with the following protocols:
- SSH / SFTP
- FTP
- FTP with Implicit SSL
- FTP with TLS/SSL
- Amazon S3
- Amazon S3 with IAM Role
- WebDAV
- WebDAV (HTTPS)
- Backblaze B2
- Box
- DreamObjects
- Dropbox
- Microsoft Azure
- Microsoft OneDrive
- Microsoft OneDrive for Business
- OpenStack Swift
- Rackspace Cloud Files
NOTE: Nova 11.x and earlier listed Google Drive as a supported protocol. Due to a change in requirements on Google’s end, Nova no longer supports using Google Drive accounts.
Additional Settings
Remote Path/URL
- Remote Path
- The initial folder to open on the server. When used with Publishing, this will be treated as the root folder for uploading files.
- Remote URL
- The URL used for accessing this server. Used in combination with the Remote Path for calculating the URL of files on the server.
For example, if you set the Remote Path on a server to…
/example-folder/remote-path
and set the Remote URL to…
https://www.example.com
then the URL of /example-folder/remote-path/subfolder/hello.png will be calculated as…
https://www.example.com/subfolder/hello.png
This is used for opening remote files in Preview tabs, or when using the Copy URL command in the File Browser or Remote Files Sidebar.
Using SSH Keys
For servers using the SSH / SFTP protocol, Nova supports generating and storing SSH keys. You can generate, import, and manage keys from Settings > Keys.
To use an SSH key that you added to Nova, click the Key icon next to the password field when configuring an SSH / SFTP server.
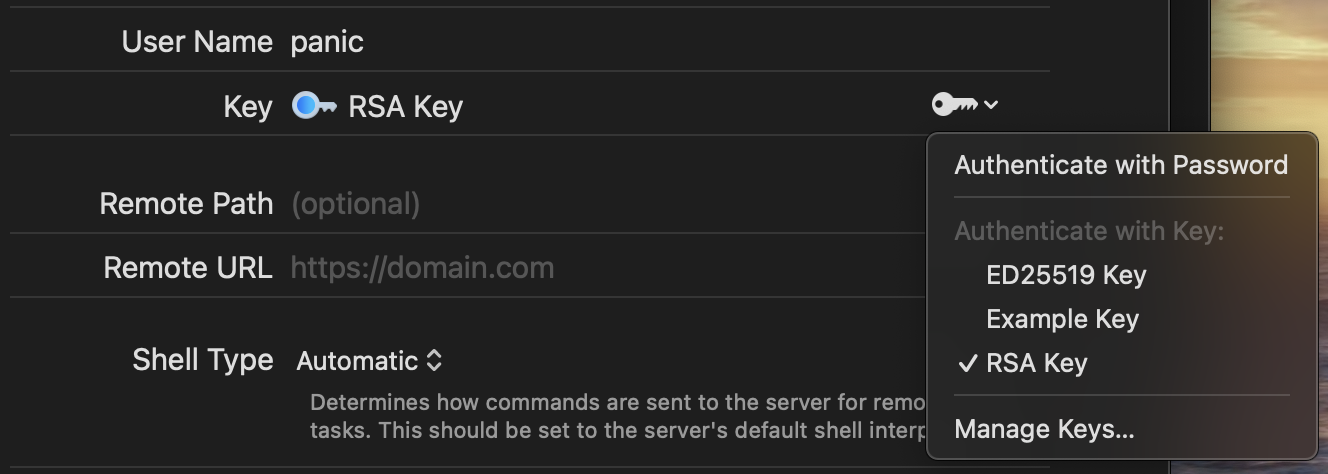
If you want Nova to use a key from your ~/.ssh folder, or one set in ~/.ssh/config, simply leave the password field blank. Nova will automatically check your ~/.ssh folder for any relevant keys or settings. Similarly, Nova will also automatically use keys from SSH agents, as long as the agent is configured in your ~/.ssh/config file.
Read More:
- How to Use SSH Keys in Panic Apps (Panic Help Library)
- SSH Configuration Options in Panic Apps (Panic Help Library)
Protocol-Specific Settings
- Shell Type (SSH / SFTP only)
- Tell Nova what kind of shell the remote server is running, to allow Remote Tasks to run as expected. Nova will attempt to automatically detect this by default, but if needed, you can manually specify whether the server uses a Unix-like shell, Windows (cmd.exe) shell, or PowerShell.
- Allow Agent Forwarding (SSH / SFTP only)
- If enabled, Nova can provide SSH keys from your Mac to SSH clients on remote servers, allowing them to connect to additional servers.
- Use Passive Mode (FTP only)
- Most modern FTP servers require a ‘passive’ connection to the server, in which the client (Nova, in our case) connects to the server without the server connecting to the client in turn. In the rare circumstance where your server does not support passive mode, you may disable it here. If you’re not sure, leave this enabled.
Organizing Servers
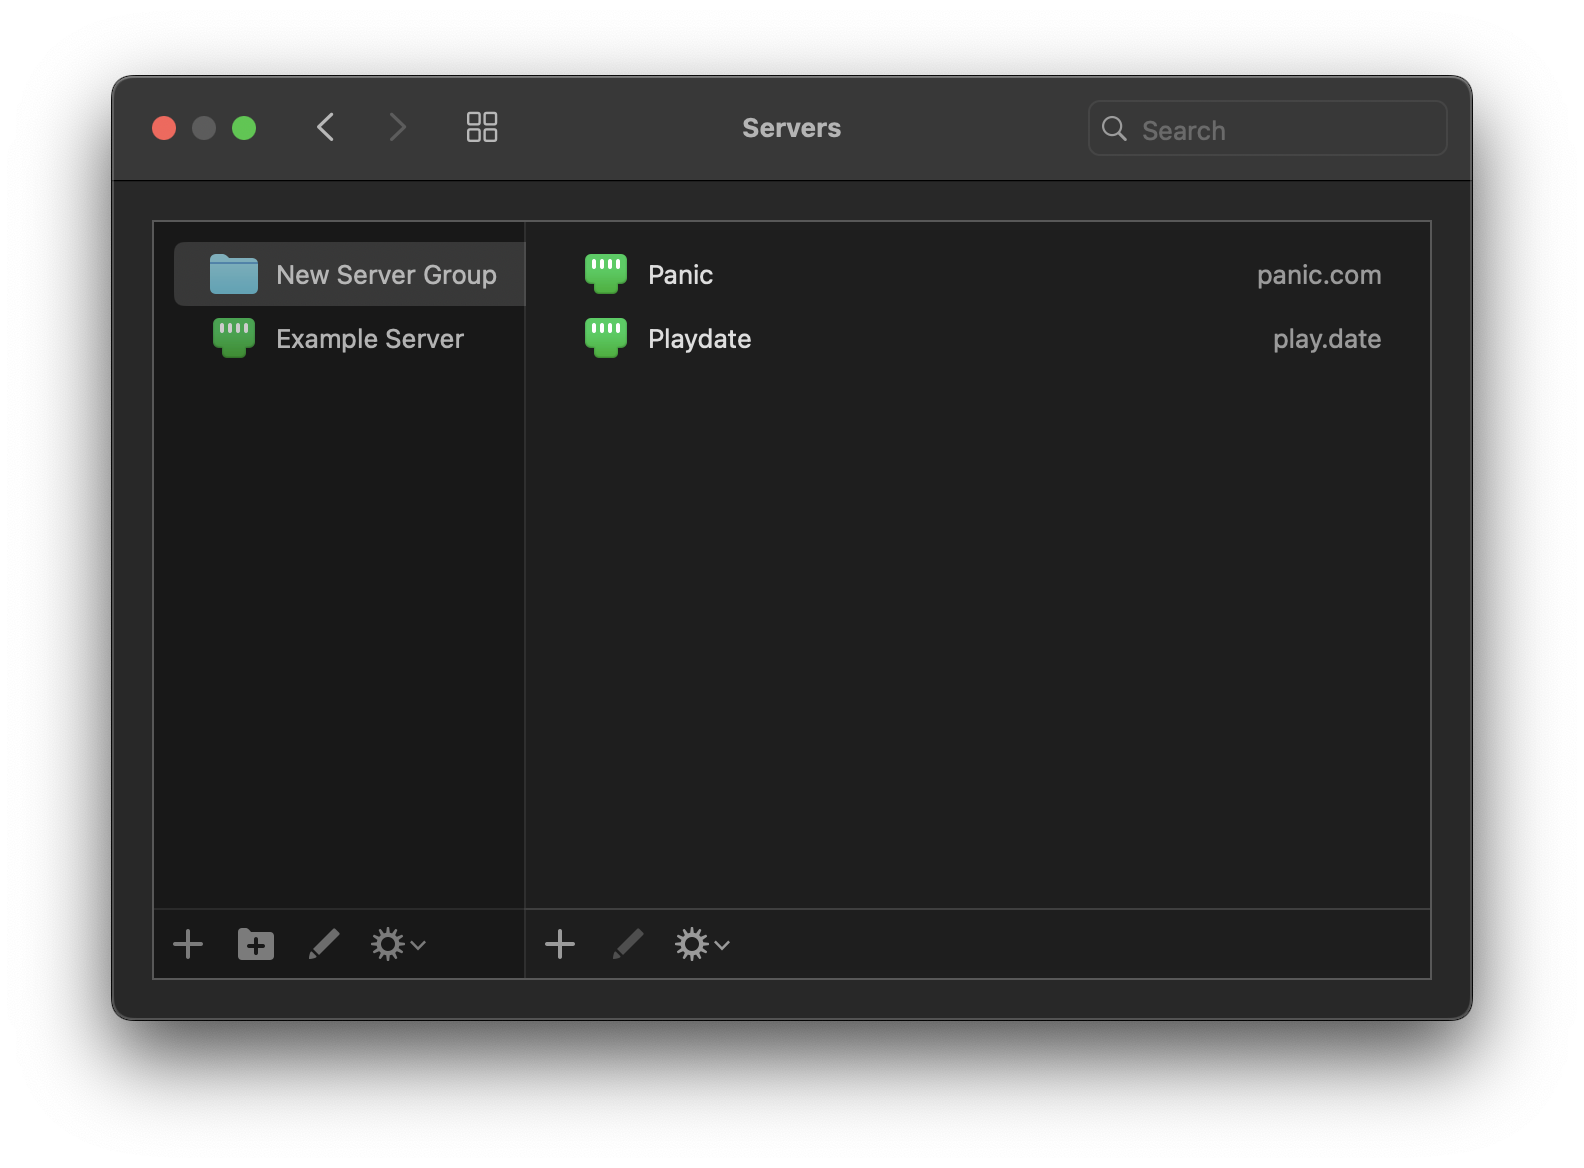
In Settings > Servers, you can organize your list of servers however you’d like. Simply drag your servers up and down the list to rearrange them. Multiple servers can be selected and moved at once by using the ⇧Shift or ⌘Command keys. To find a particular server, you can use the Search field in the bottom-right.
You can also organize your servers into folders to group related servers together. To create a folder, simply click the icon. Drag your servers into the folder to add them to the group.
Using Panic Sync
Nova supports syncing your servers and keys to other Macs running Nova or Transmit using Panic Sync. This is a free, end-to-end encrypted syncing service offered to users of Panic apps. You can configure it by signing into Panic Sync from Settings > Sync.
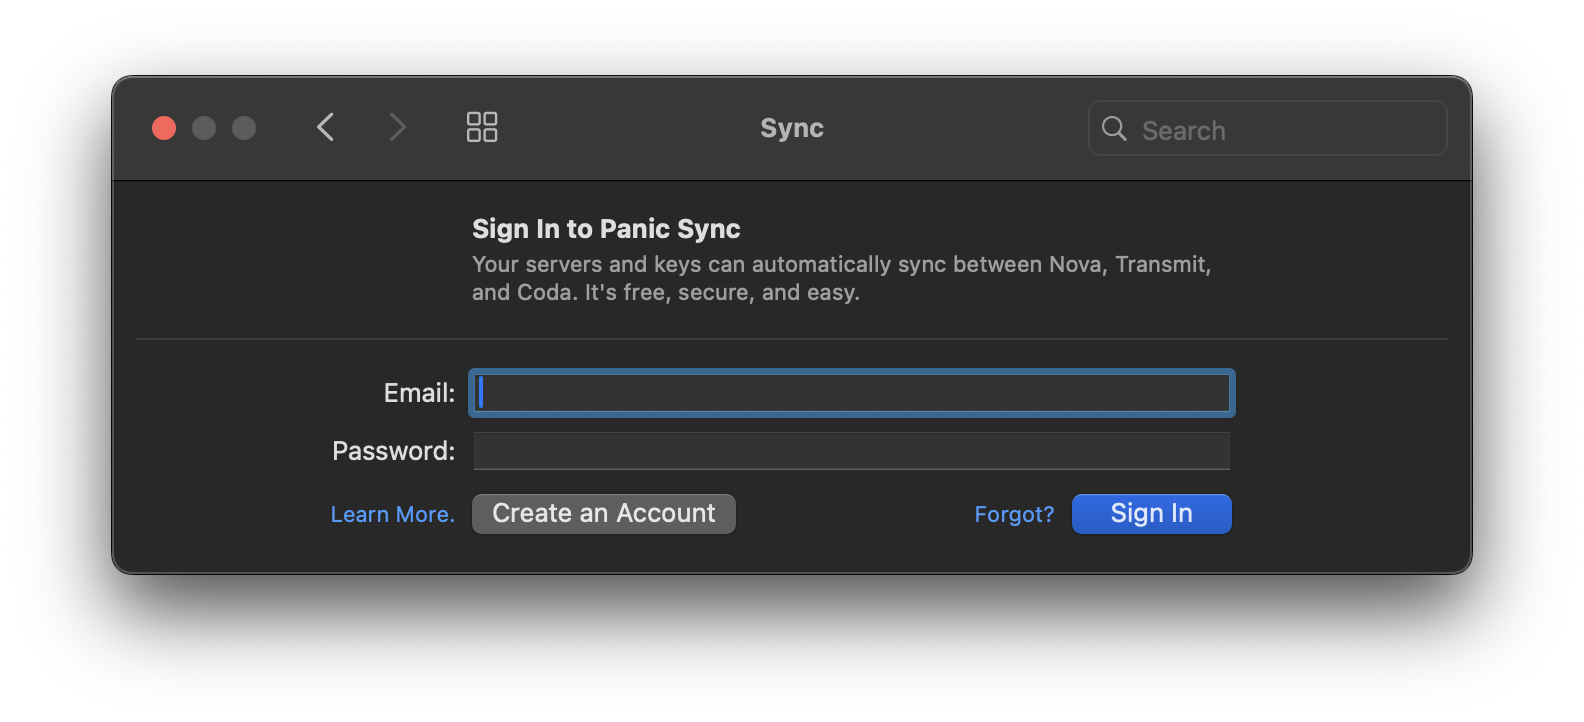
NOTE: If you don’t already have an account, you can sign up right from within Nova by clicking Create an Account.
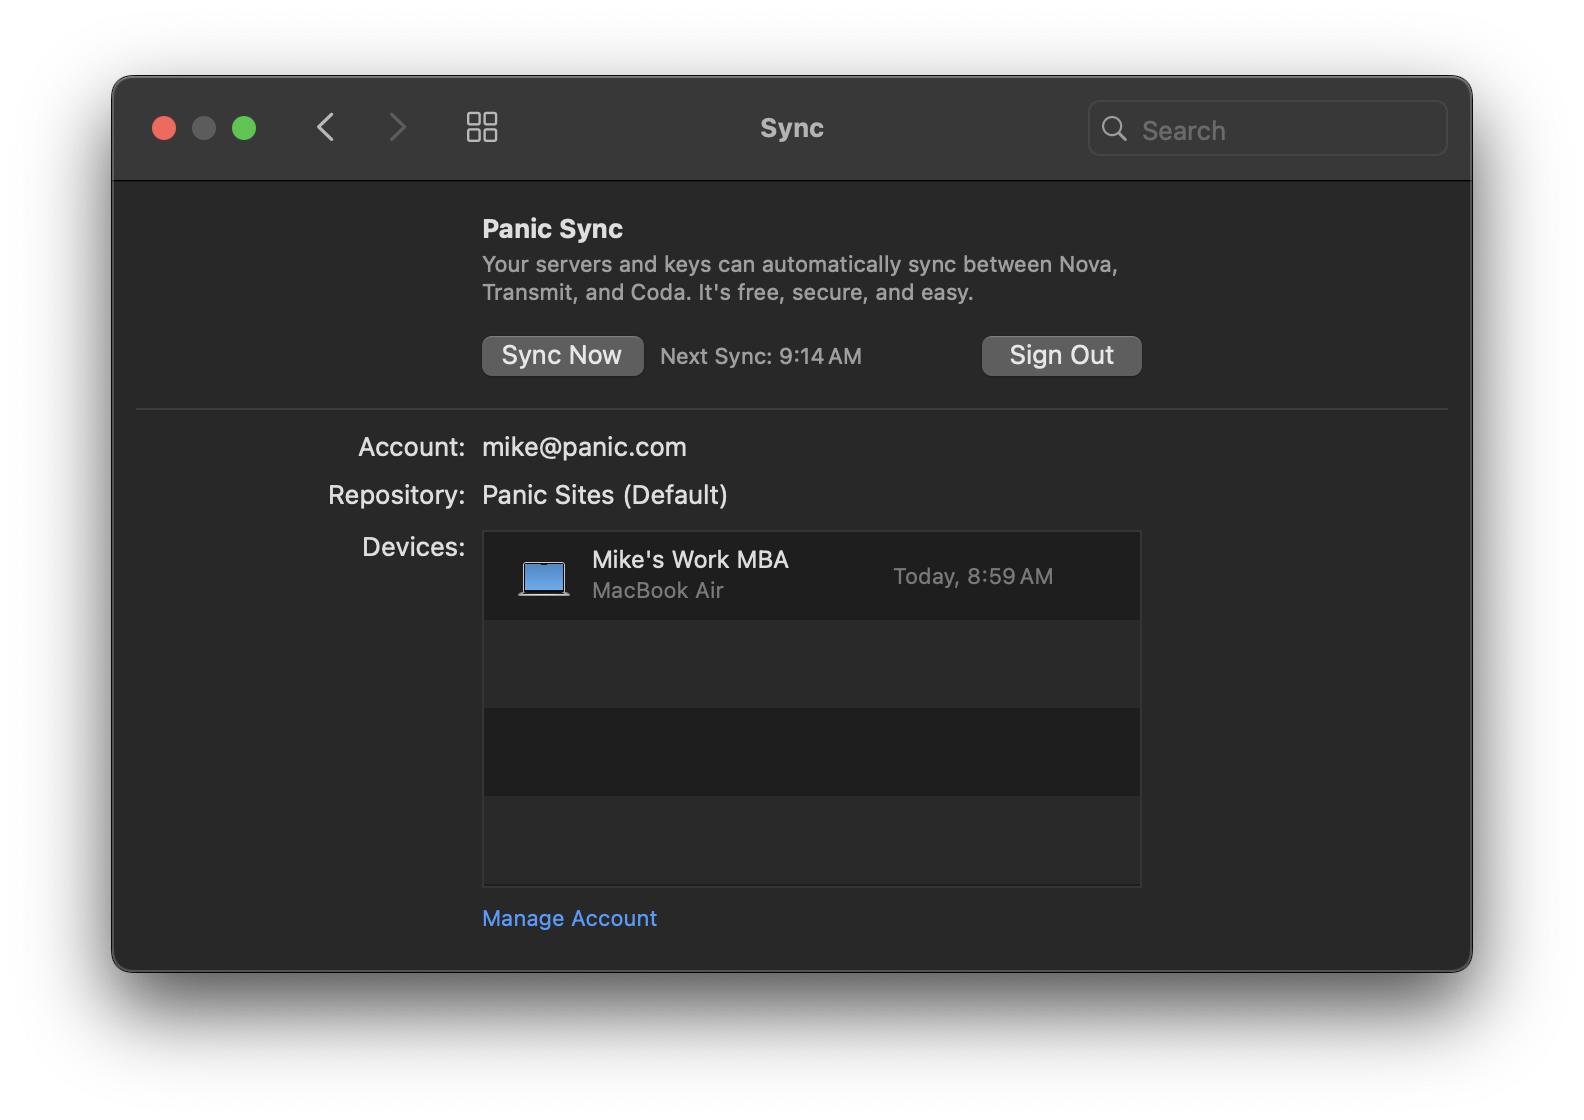
Once you’re signed in, your servers and keys stored in Nova will automatically sync with Transmit and other copies of Nova that are signed in with the same account. You can see a list of devices signed into Panic Sync, force a sync immediately, or sign out of Panic Sync from Settings.
Read More:
- Panic Sync (panic.com)
- Panic Sync: Common Questions (Panic Help Library)
- Troubleshooting Panic Sync (Panic Help Library)
Import and Export Servers
|
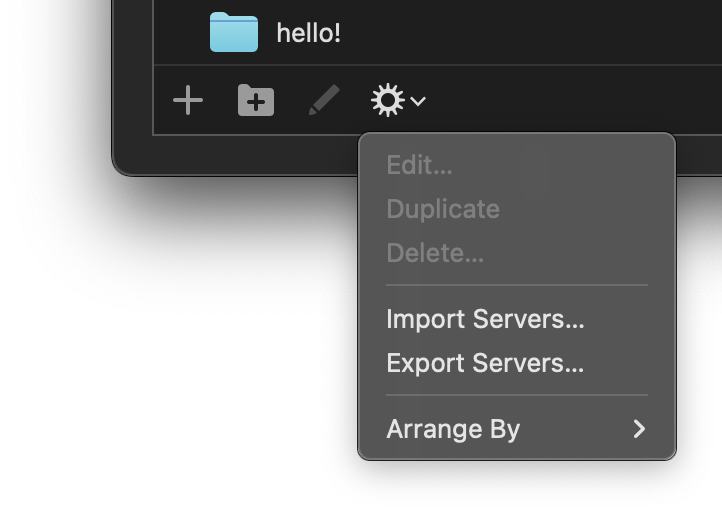
If you need to manually back up or transfer your servers to another Nova installation, or to Transmit, you can export and import your servers to and from a file. From Settings > Servers, click the |
|
When exporting servers, you will have the option to export your servers to an encrypted file containing your server passwords, or an unencrypted file without your passwords. Encryption is required when exporting your passwords to ensure your credentials are secure. If you choose to export an encrypted file, you will also be prompted to create a password for the file.
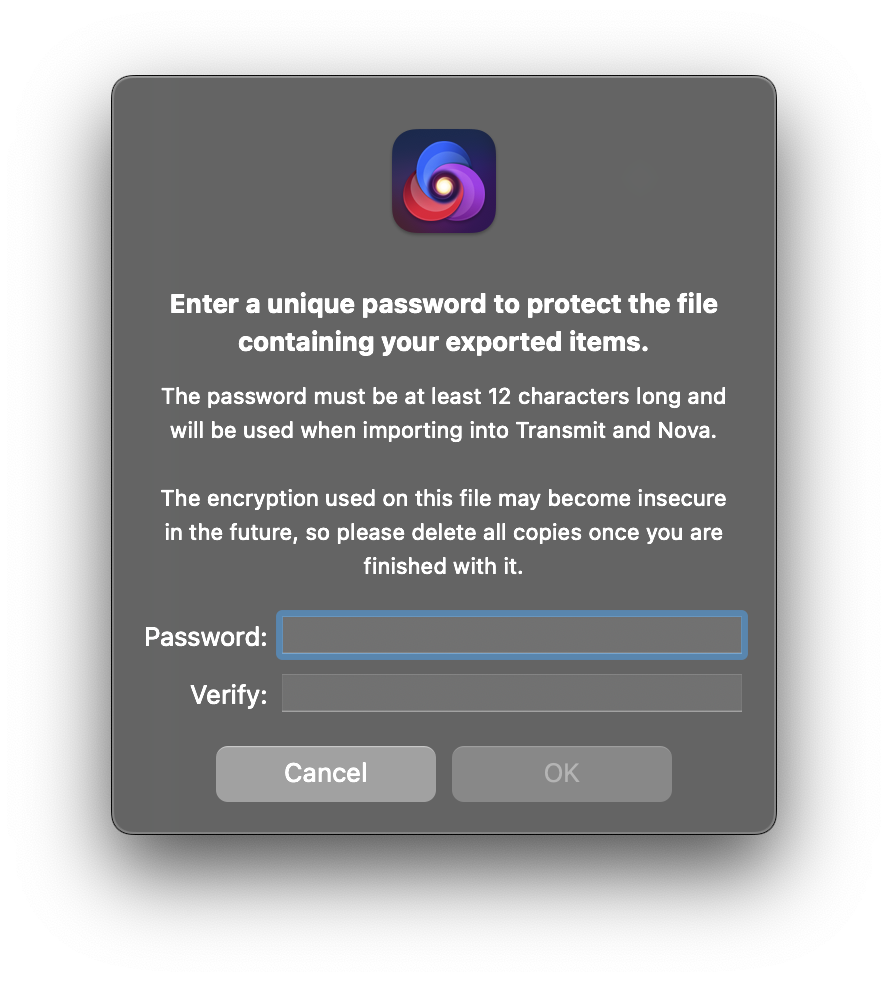
You will be required to enter this password when you import this file into Nova or Transmit in the future, so make sure you don’t lose it!
|
Next → Remote Sidebar |